
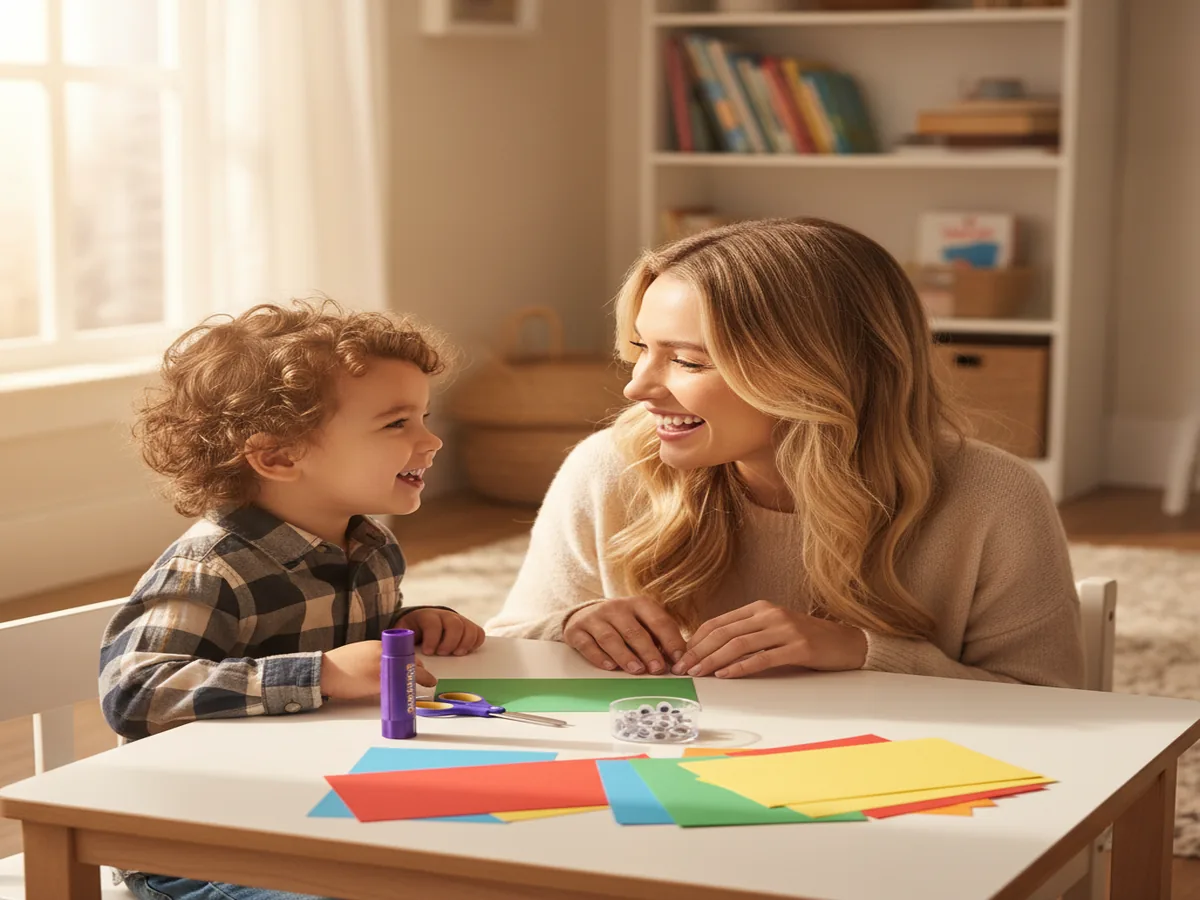
If you've ever needed a quick activity to keep little hands busy on a rainy afternoon, you already know that a good craft using paper is worth its weight in gold. This adorable paper caterpillar is so simple, so colorful, and so satisfying that your kiddos will literally beg to make it over and over. The whole thing comes together in about 20 minutes flat — grab your paper stash and let's get crafting!
Why Kids Love This Craft
There's something magical about watching a flat sheet of paper transform into a wiggly, 3D caterpillar right before your eyes. Kids get to practice cutting, folding, and gluing — all those fine motor skills that teachers love — while feeling like they're just having a blast. The bright colors and bouncy body make this an irresistible fun paper craft for preschoolers that builds confidence with every loop they add.
Best of all, every caterpillar turns out unique! Whether your child picks rainbow stripes or goes all-in on their favorite color, there's no wrong way to make one. That creative freedom is what turns a simple afternoon project into a craft they'll want to repeat again and again.
What You'll Need
You only need a handful of basics for this one. Simple materials, big results.
- Colored construction paper (9" x 12" sheets), at least 4–5 bright colors like green, red, yellow, orange, and blue.
- Washable glue sticks, at least one per child (the purple-goes-clear kind helps kids see where they're gluing).
- Kid-safe scissors with blunt tips and easy-grip handles, perfect for little hands.
- Self-adhesive googly eyes (10mm), 2 per caterpillar.
- Washable black marker (broad tip), for drawing the mouth and details.
- Green pipe cleaners (chenille stems), one per caterpillar for the antennae.
- Small craft pom-poms (1/2 inch, assorted colors), 2 per caterpillar to top the antennae.
- A pencil for tracing (any regular pencil works).
- A clean, flat table or craft mat to work on.
Step-by-Step Instructions
-
Step 1: Cut Your Paper Strips
Help your child cut 8–10 strips of construction paper, each about 1 inch wide and 6 inches long. This is a fantastic opportunity for little ones to practice their scissor skills! For toddlers, pre-cut the strips and let them pick their favorite colors. Encourage mixing and matching — the more colorful, the better. A rainbow pattern looks absolutely adorable, but random colors are just as fun.
💡 Tip: For ages 2–3, pre-cut all the strips beforehand and let little ones focus on choosing colors and gluing. That's more than enough to keep them engaged and proud.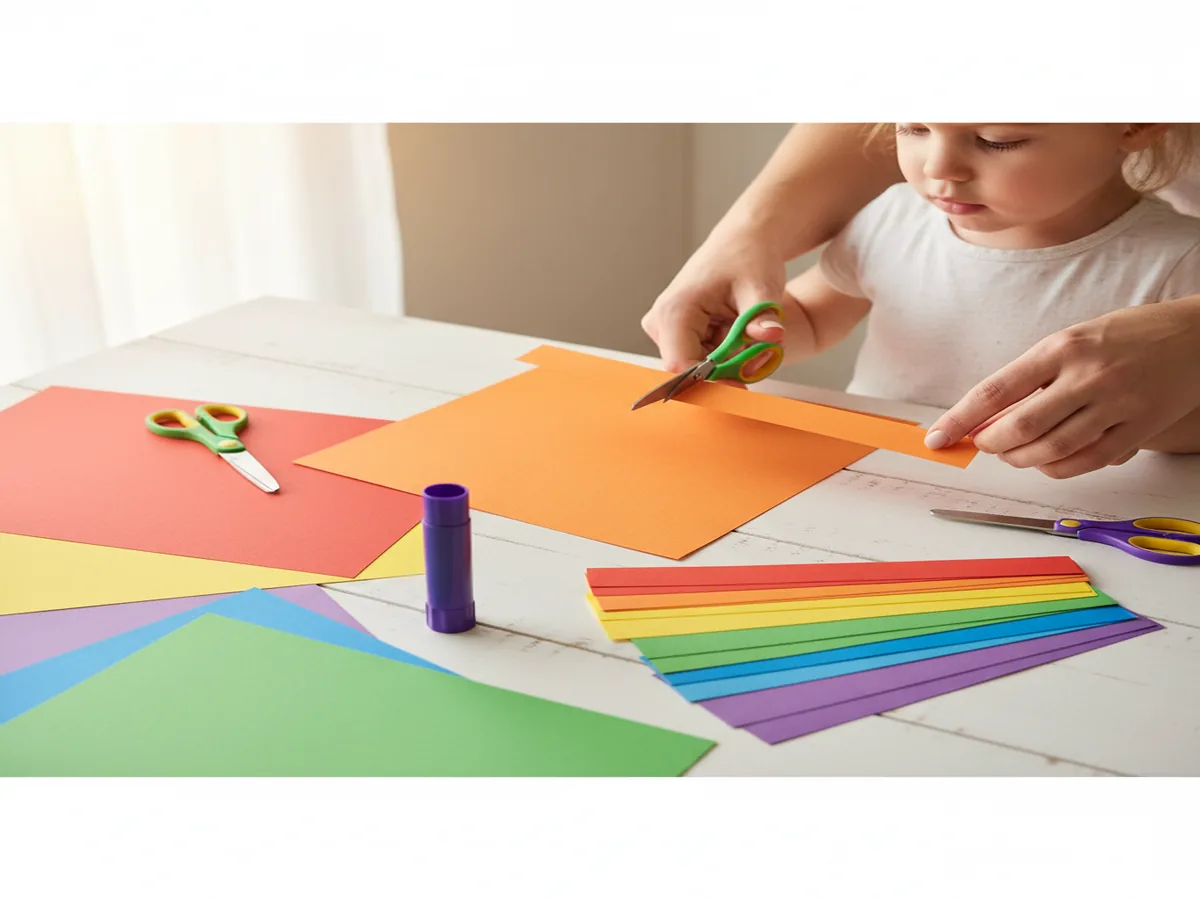
-
Step 2: Create the Body Loops
Take one strip of paper and curl it into a loop with the ends overlapping by about half an inch. Have your child press a glue stick along the overlap and hold it for a few seconds until it sticks. Repeat with all remaining strips. Don't worry if the loops aren't perfectly round — wobbly loops give your caterpillar extra personality!
💡 Tip: If loops aren't holding well, a small dot of white school glue at each connection point works wonders. Just allow an extra minute of drying time.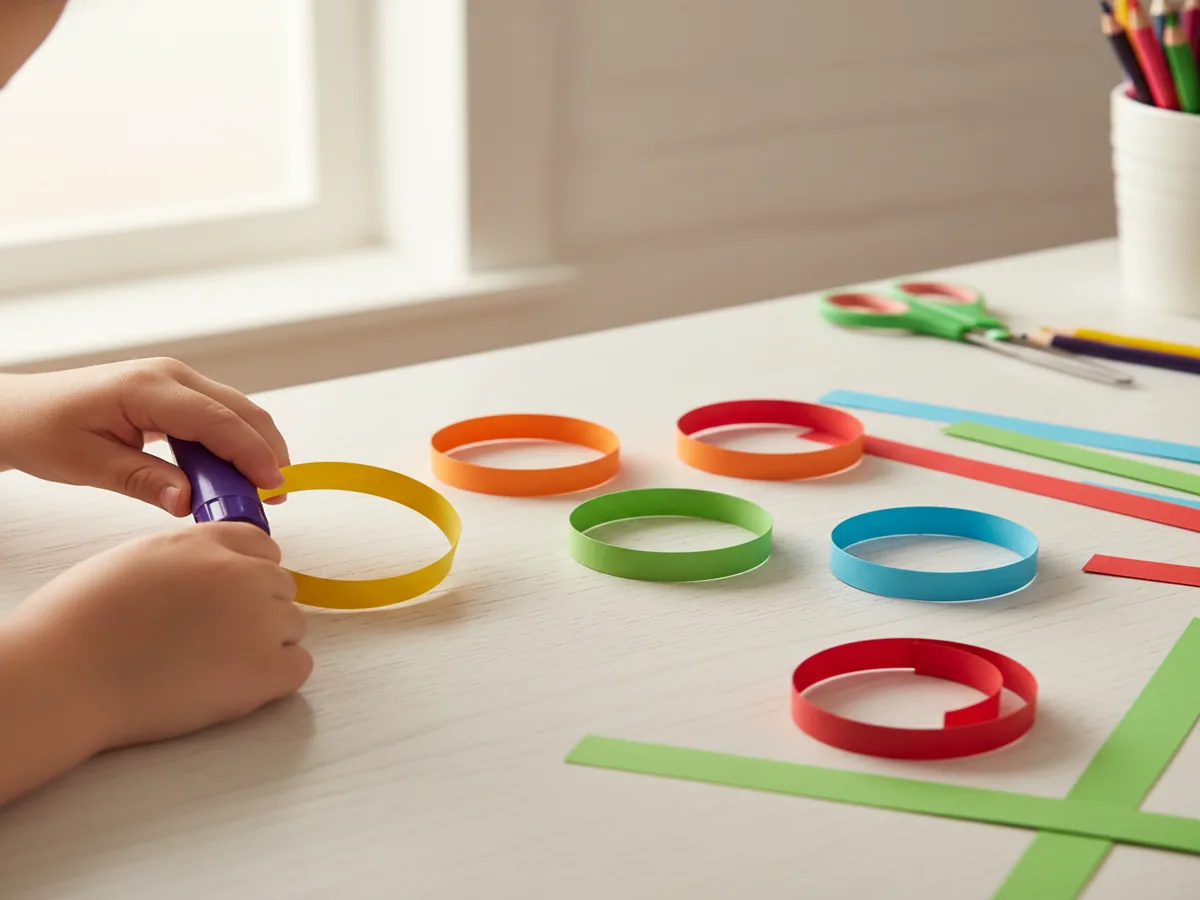
-
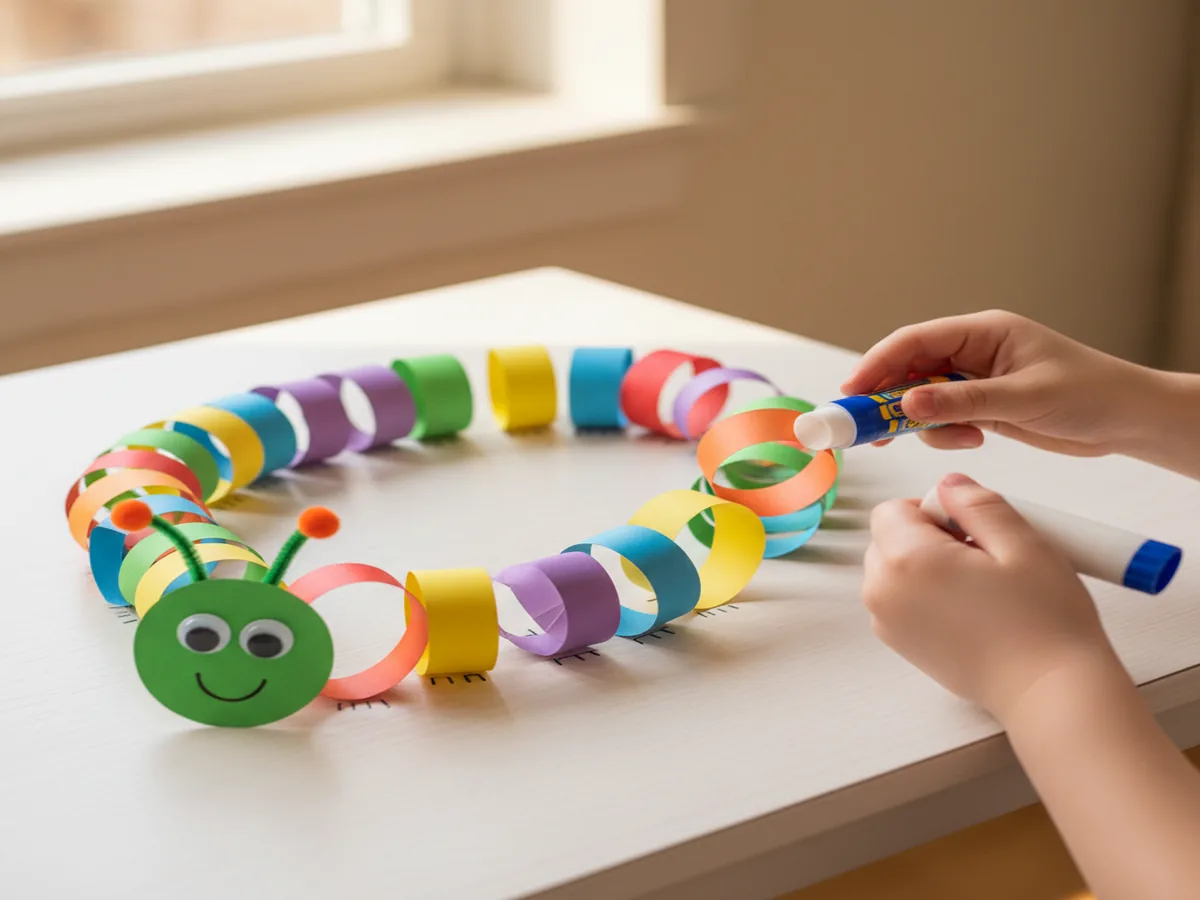
Step 3: Connect the Body
Now it's time to build the caterpillar! Apply glue to the side of one loop and press the next loop against it, slightly overlapping so they stick together. Continue attaching loops one by one in a gentle curving line. You can curve the line to the left or right, or even make an S-shape if your child is feeling adventurous. Lay the connected body on its side and gently press each connection point to make sure everything holds.
-
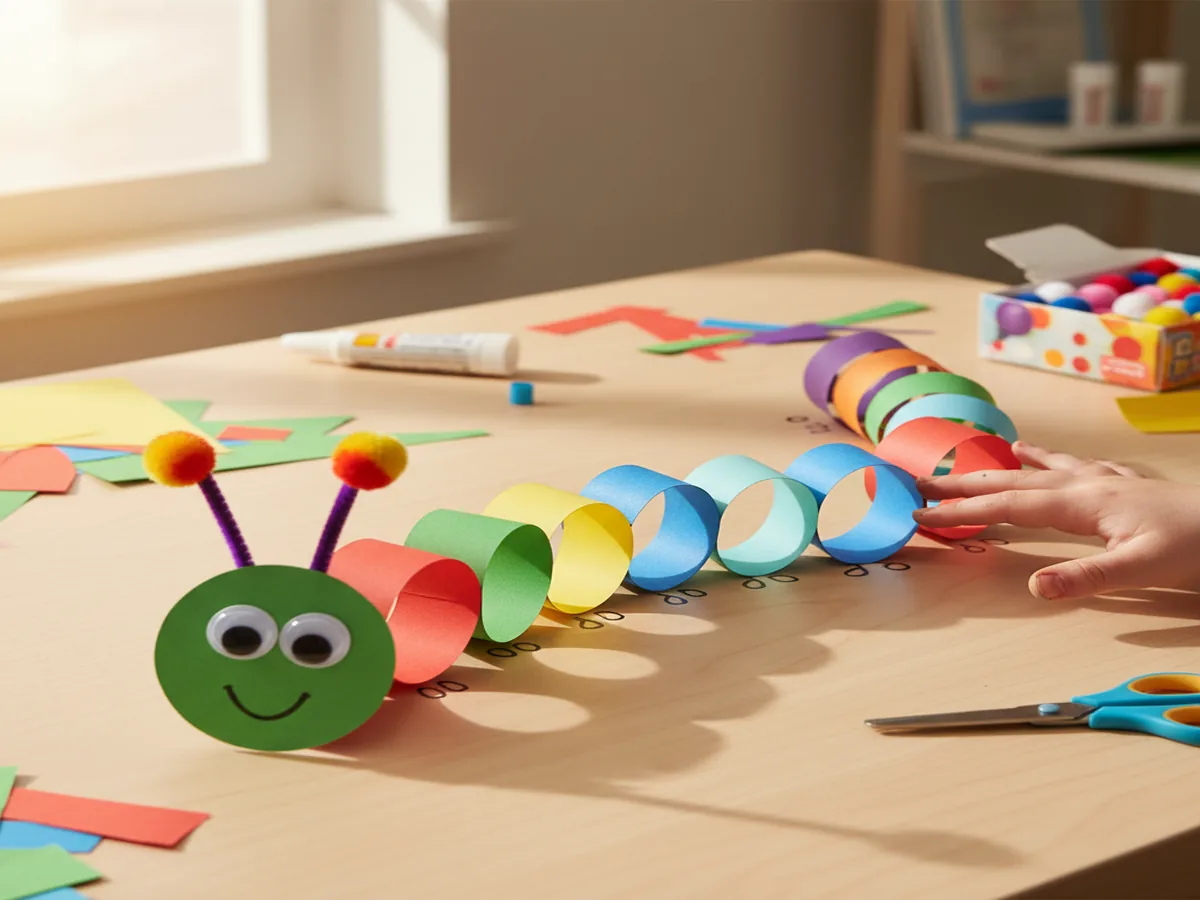
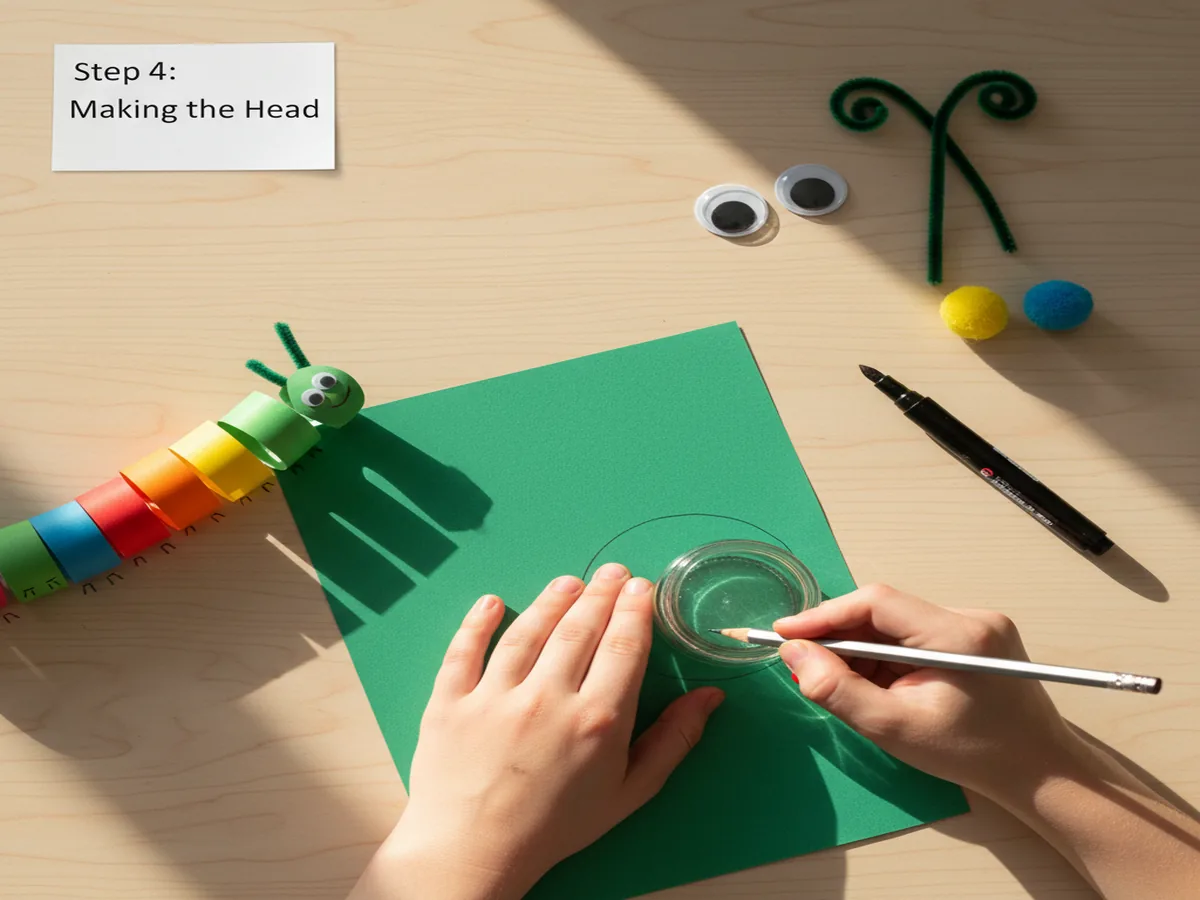
Step 4: Make the Head
For the head, cut a circle about 3 inches across from a piece of construction paper — trace around a small cup or jar for a nice round shape. Stick on two googly eyes near the top of the circle, then use the black washable marker to draw a big, happy smile. For the antennae, cut one pipe cleaner in half, curl each piece at the top, and glue a small pom-pom onto each curl. Attach the straight ends to the back of the head circle with a generous dab of glue and hold for about 10 seconds.
-
Step 5: Attach the Head and Add Details
Glue the finished head circle to the front of the first body loop, pressing firmly for a few seconds. Let everything dry for about 2–3 minutes. While you wait, your child can use the marker to draw tiny feet along the bottom of each loop, or add spots, stripes, or hearts to the body segments for extra flair. Stand it up on a shelf, tape it to the fridge, or line up a whole caterpillar family!
💡 Tip: For older kids (ages 6–8), challenge them to make extra-long caterpillars with 15+ loops, or write letters or numbers on each segment for a sneaky learning twist.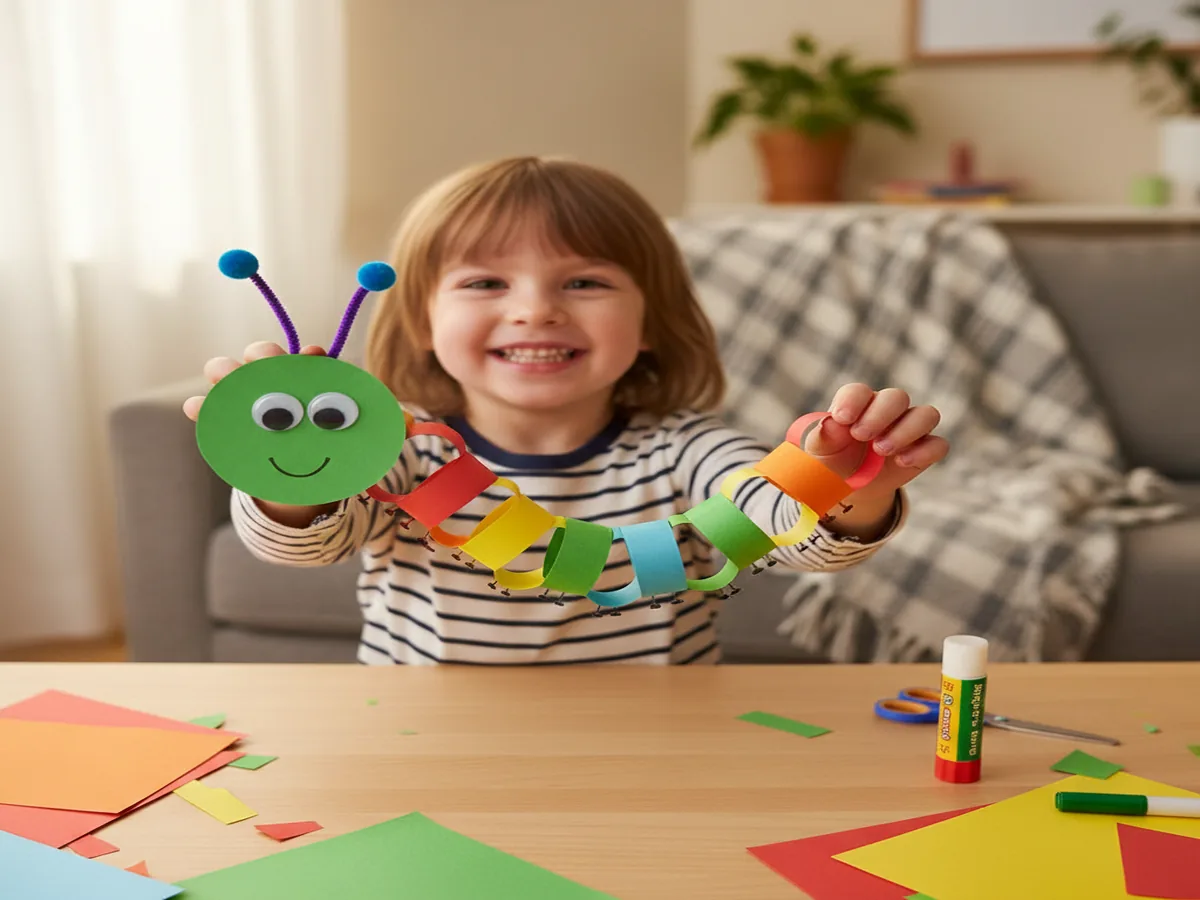
Variations to Try
Bookworm Buddy: Turn your caterpillar into an adorable bookworm! Use all green paper strips and glue a tiny pair of paper glasses onto the face. You can even attach a mini paper book (just fold a small square in half) near the head. This makes a sweet bookmark or reading-corner decoration and gives you another fantastic paper craft idea for little kids who love story time.
Hungry Caterpillar Theme: If your kids love The Very Hungry Caterpillar by Eric Carle, use the same red-and-green color scheme from the book. Cut tiny fruit shapes from scrap paper and glue them around the body. This is a wonderful companion activity after reading the book together and makes the craft even more meaningful.
Seasonal Caterpillars: Swap out the colors to match any holiday or season! Use red, pink, and white strips for Valentine's Day; orange, black, and purple for Halloween; or red, white, and blue for the Fourth of July. Add stickers, glitter glue, or mini paper hearts and stars to match the theme. The basic technique stays the same, so once your kids master this craft using paper, they can adapt it all year long.
More Crafts You'll Love
If your little ones had a blast with this project, they'll go absolutely wild for these popular paper crafts from our blog:
- Easy Paper Plate Turtle Craft for Preschoolers (5 Simple Steps!)
- Gorgeous Paper Flower Craft for Kids: So Easy Even Toddlers Can Make a Beautiful Bouquet!
Final Thoughts
This 20-minute paper caterpillar is proof that you don't need fancy supplies or hours of prep to create something truly special with your kids. A craft using paper can be simple, budget-friendly, and absolutely magical, all at the same time. Whether your little one is a first-time crafter or a seasoned glue-stick pro, this project delivers smiles, giggles, and a whole lot of pride. If you give it a try (and we really hope you do!), snap a photo of your caterpillar crew and share it with us on Pinterest. We'd love to see your colorful creations! Happy crafting, mama! 💚