
There's something magical about watching your little one's face light up when they turn a plain paper plate into a beautiful butterfly. This easy paper plate butterfly craft for preschoolers is one of our absolute favorite spring activities. It's simple enough for tiny hands, colorful enough to make everyone proud, and it comes together in just about 15 minutes. Grab your paint and let's get crafty together!
Why Kids Love This Craft
Butterflies are one of those things that naturally captivate kids. They're colorful, they fly, and they go through the coolest transformation in nature. When you combine that fascination with hands-on painting, cutting, and decorating, you've got a recipe for pure creative joy. This fun paper plate butterfly activity for young kids lets little ones express themselves freely while building important fine motor skills like gripping, squeezing, and folding.
What makes this craft extra special is that no two butterflies turn out the same. Your child gets to pick their own colors, add their own decorations, and truly make it their own. It's a fantastic confidence booster, especially for preschoolers who are just starting to explore their artistic side. Plus, these butterflies look absolutely adorable hanging on the fridge or taped to a bedroom window where the light shines through!
What You'll Need
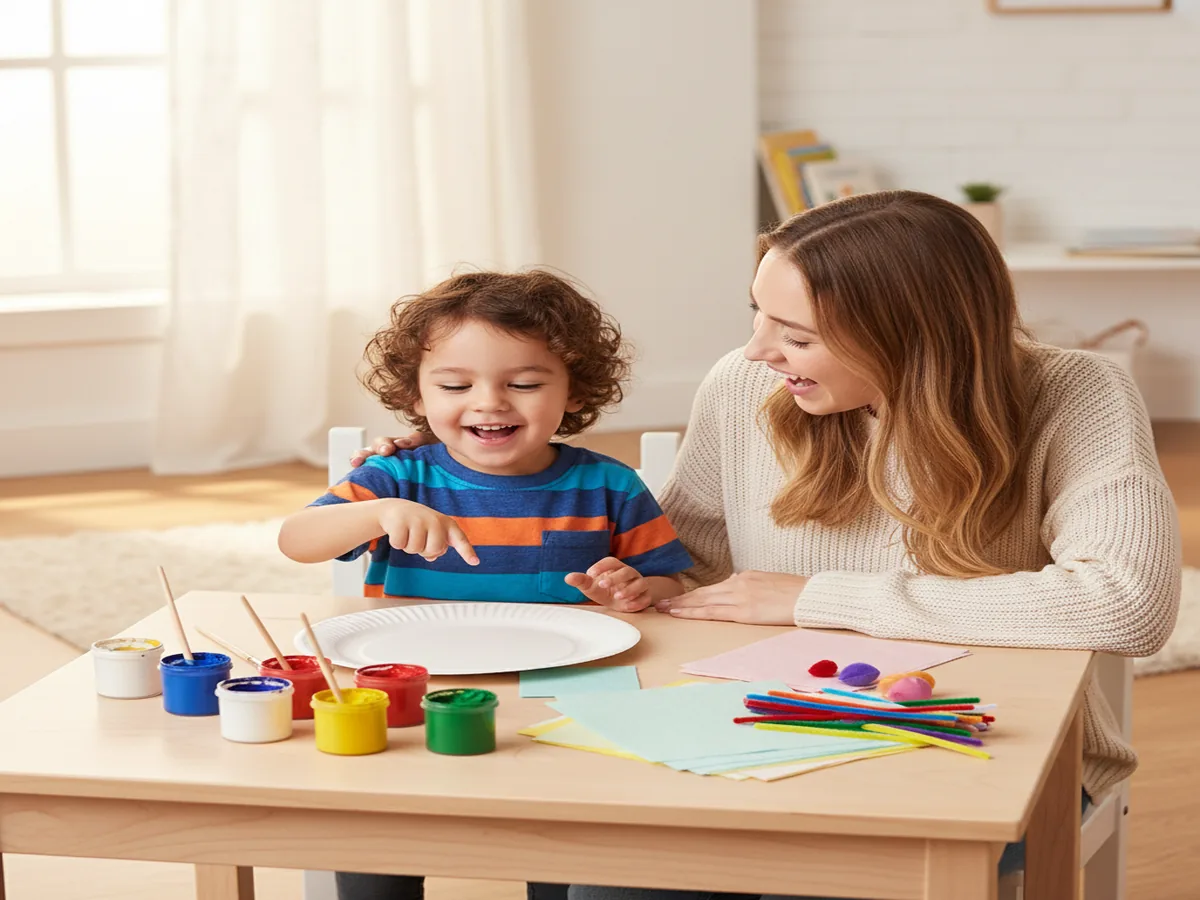
A quick look through this list before you start makes the whole craft go smoothly, with no mid-project scrambling!
- White paper plate, standard size works great, or use a smaller dessert plate for toddlers.
- Washable tempera paint in 3–4 bright colors — pink, purple, yellow, and blue are favorites.
- Paintbrushes or cotton swabs for dabbing.
- Wooden clothespin (clip-style), one per butterfly for the body.
- Pipe cleaners, one per butterfly for the antennae.
- Googly eyes, small or medium size.
- Glue: white school glue or a low-temp glue gun (parent use only).
- Child-safe scissors.
Step-by-Step Instructions
Step 1: Fold and Cut the Paper Plate
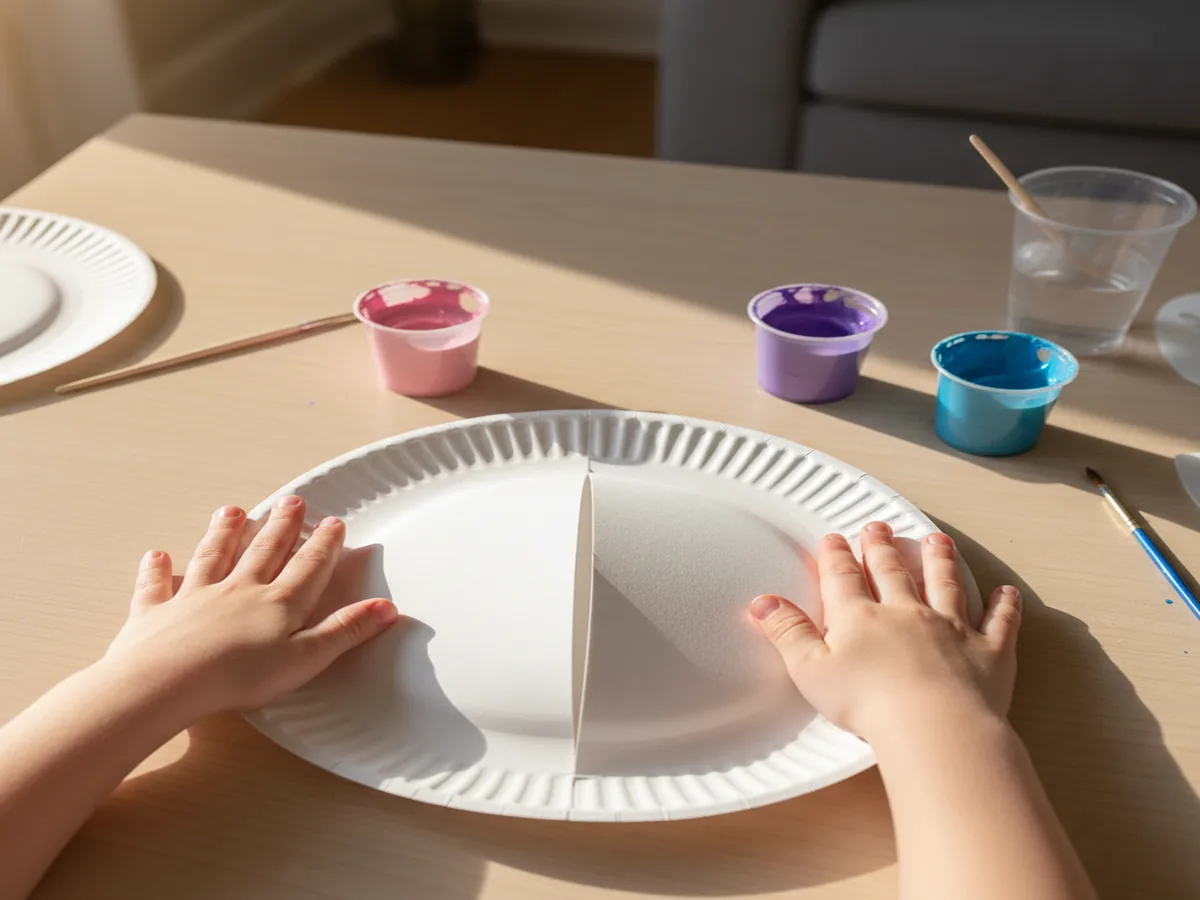
Start by folding your paper plate in half. This fold creates the two wings of your butterfly — easy as that! If you'd like, use scissors to round off the edges or cut a gentle scallop pattern along the outer rim for a more butterfly-like shape. Little ones can help with the folding, but let a grown-up handle any cutting. Once you unfold it, you'll already start to see the butterfly taking shape!
Step 2: Paint the Wings
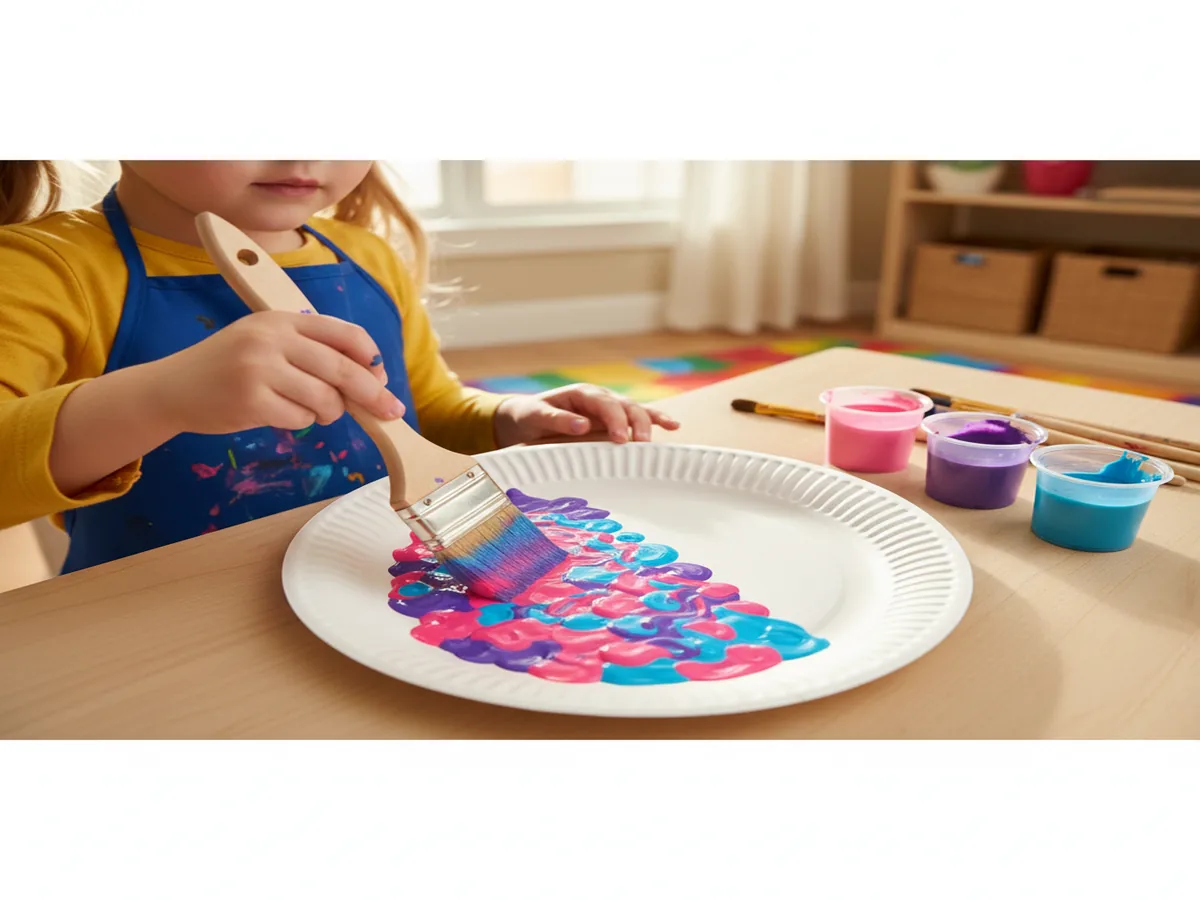
Now for the messy magic! Open the plate back up and let your preschooler go wild with paint on one half of the plate. Encourage big blobs, dots, swirls, and streaks of color — there are no rules here! Tell them the more color, the better. If your little one is closer to age 2 or 3, cotton swabs and finger painting work beautifully. Older preschoolers might enjoy using paintbrushes or sponge stamps.
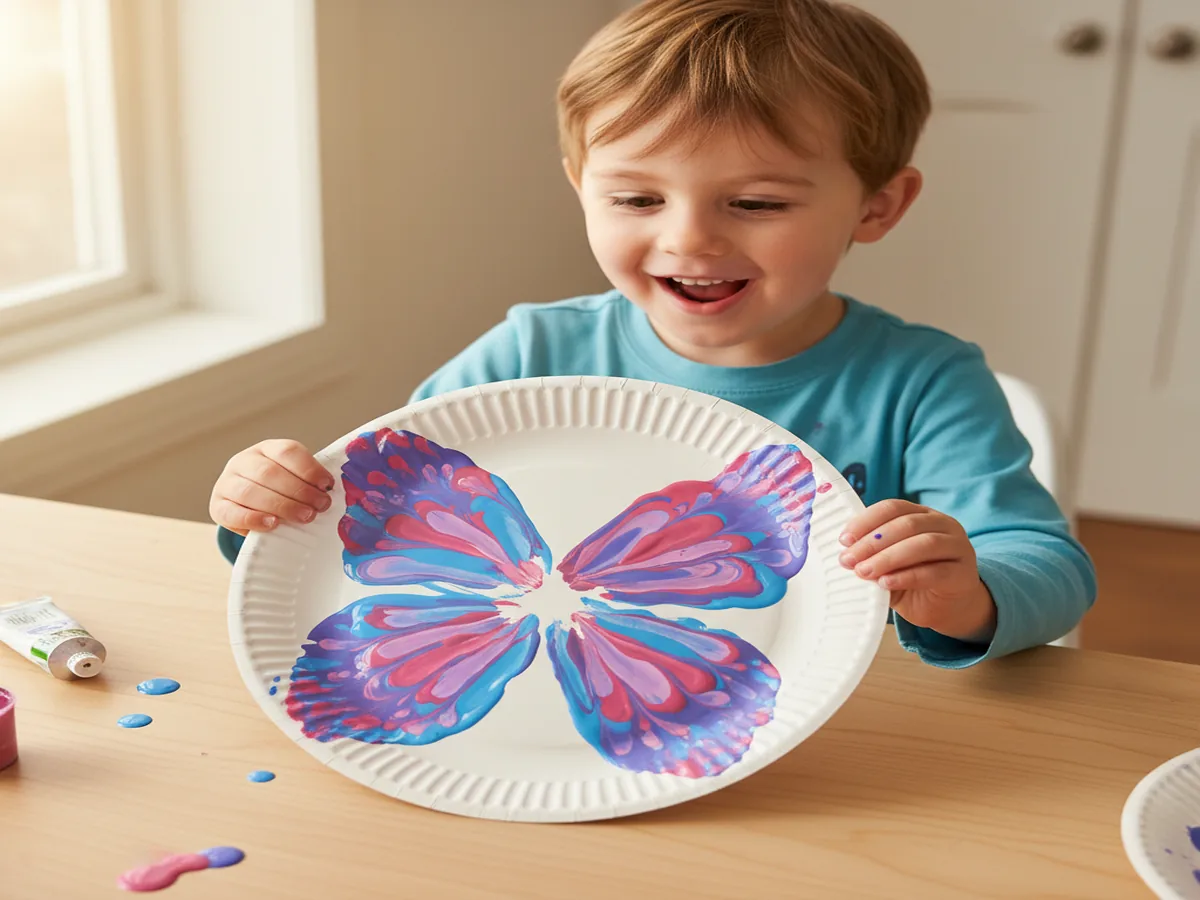
Step 3: Create a Symmetrical Print
Here's the part that feels like pure magic to kids. While the paint is still wet, fold the plate in half again along that original crease and press down firmly. Let your child pat and smoosh the two sides together — they'll love this part! When you open it back up, the paint will have transferred to both sides, creating a beautiful symmetrical pattern just like a real butterfly's wings. Let the painted plate dry completely, about 10–15 minutes depending on how generously your little Picasso applied the paint.
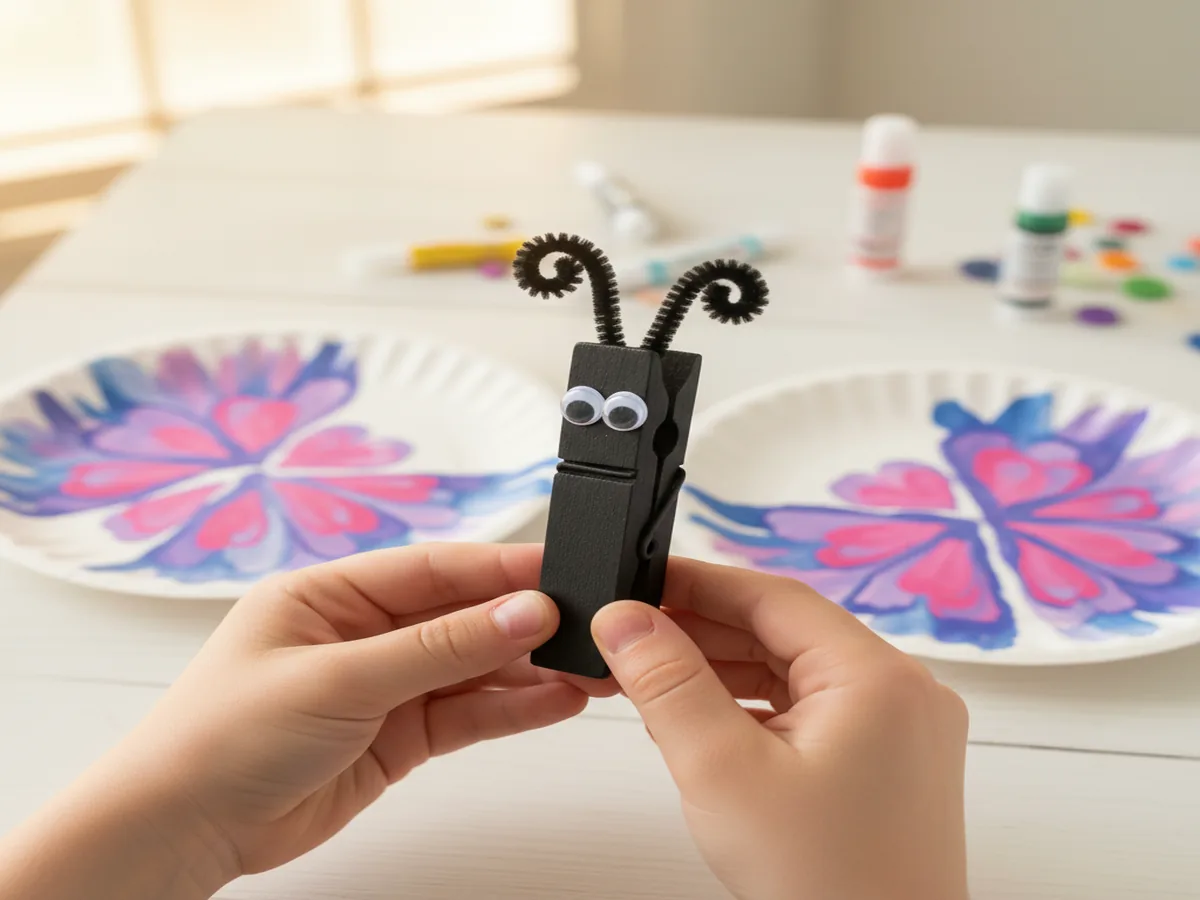
Step 4: Attach the Body and Antennae
While the wings are drying, let's prep the butterfly's body! Let your child paint the wooden clothespin in a fun color — black, bright pink, or rainbow stripes all work great. Once dry, cut a pipe cleaner in half and curl each end to make spirals for the antennae. Glue or twist the pipe cleaner pieces into the top of the clothespin, then stick on two googly eyes with a dab of glue.
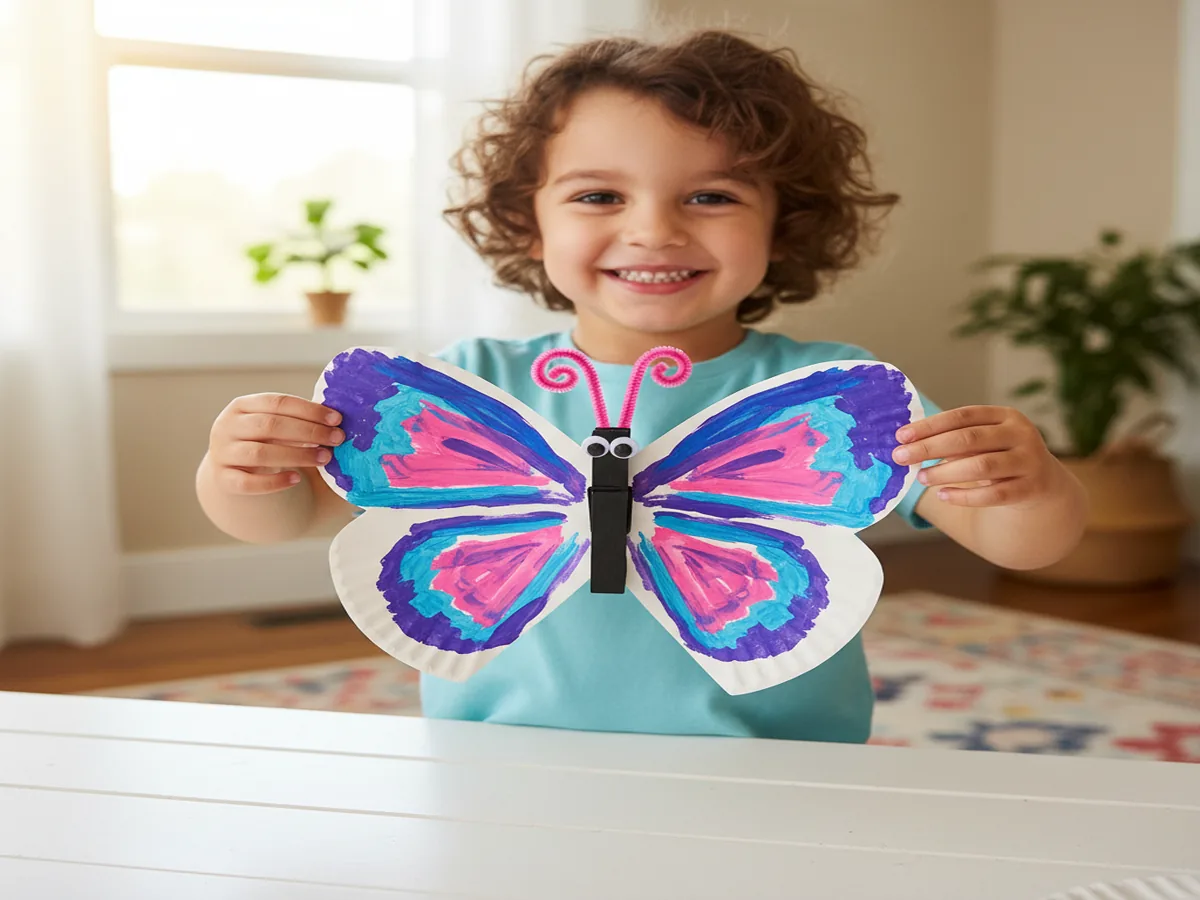
Step 5: Assemble Your Butterfly
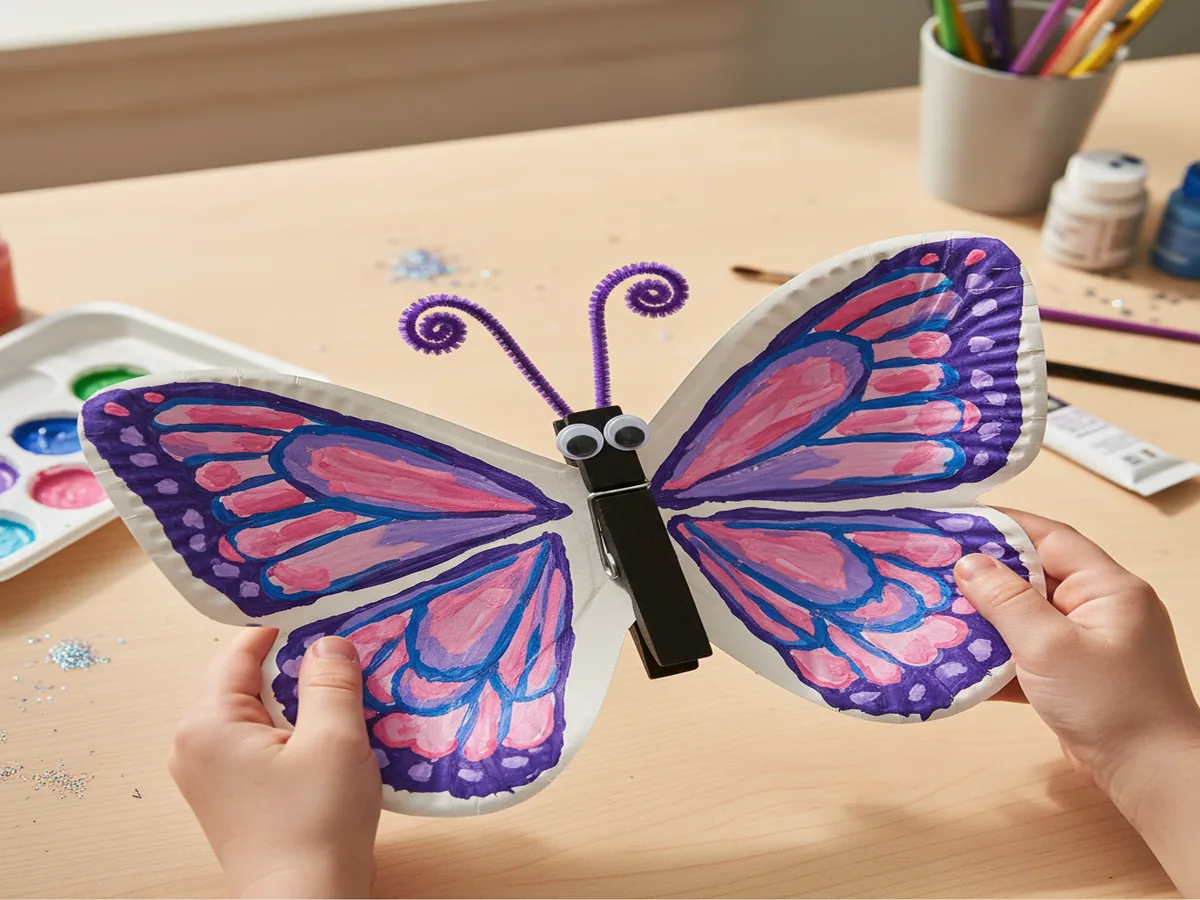
Time to bring it all together! Once the wings are fully dry, fold the plate in half one last time along the crease, then clip the clothespin body right onto the folded edge at the center. The clothespin naturally grips the plate and holds everything in place. Give the wings a gentle fan outward so they spread open beautifully — and just like that, you've got your easy paper plate butterfly craft for preschoolers!
Variations to Try
Tissue Paper Butterfly: If you want a no-paint option (perfect for days when you just can't deal with the cleanup), skip the paint entirely and let your child glue crumpled squares of colorful tissue paper all over the plate instead. It creates a gorgeous textured look and is a wonderful easy spring butterfly craft for 3 year olds who love tearing and scrunching paper. The butterflies turn out bright and dimensional, almost like stained glass!
Glitter Butterfly: After painting the wings, sprinkle glitter over the wet paint before folding. When the plate opens up, you'll get sparkly symmetrical wings that look absolutely enchanting. Fair warning: there will be glitter everywhere for approximately the next three weeks. But the squeals of delight make it totally worth it.
Nature Butterfly: Take this craft outside! Instead of paint, use a thin layer of glue on the plate and let your child press on flower petals, small leaves, grass, and other natural materials they find in the yard. It's a beautiful way to combine a nature walk with art time, and it makes this paper plate butterfly art project for kids feel extra special and seasonal.
More Crafts You'll Love
If your little one had a blast with this butterfly, they're going to love these other easy crafts from our collection:
- Easy Paper Plate Ladybug Craft for Toddlers: another adorable bug-themed project that pairs perfectly with this butterfly!
- Simple Spring Flower Craft for Preschoolers: a colorful companion craft that looks amazing displayed right next to your butterfly.
Final Thoughts
This easy paper plate butterfly craft for preschoolers is one of those go-to activities that never gets old. We've made it every spring for the past few years, and my kids still get excited about it every single time. It's simple, it's colorful, it's forgiving, and it creates the sweetest little keepsake that you'll want to display all season long. Whether you're crafting on a rainy afternoon, prepping for a playdate, or looking for a fun classroom activity, this butterfly checks every box. If you try it with your little ones, I'd love to see how they turn out! Snap a photo and share it on Pinterest. Tag us so we can ooh and ahh over your kiddo's beautiful creation. Happy crafting, mama! 🦋