
Monkeys are one of those animals that make kids giggle the moment you mention them, and this paper craft monkey is a simple way to turn that giggle into a sweet afternoon together. 🐵 All you need is a little brown and tan construction paper, child-safe scissors, a glue stick, and two googly eyes. There is no paint, no special talent, and almost no mess to clean up afterward. If you have ever wanted a foolproof animal craft you can finish in about 25 minutes, this easy paper craft monkey is a wonderful place to start.
What I love most is how fast it starts looking like an actual monkey. The minute the round ears go on and the googly eyes are pressed into place, your child will light up, because suddenly there is a cheeky little face smiling back at them.
Why Kids Love This Craft
There is something special about making a face that has personality, and this paper craft monkey has plenty of it. From the round sticking-out ears to the wide silly grin, kids feel like they are bringing a real little character to life right there at the table. That moment of transformation, when a few paper shapes suddenly become a monkey, is pure magic for a young child.
Cutting circles and gluing pieces in place is also gentle, valuable practice for little hands. Tracing the head, snipping the ears, and pressing on each shape all help build fine motor skills and hand control without ever feeling like work. Choosing where the smile goes and how big to make the ears gives your child real creative ownership, and every monkey paper craft ends up looking a little different and a little more personal.
Best of all, the finished monkey is something your child will be proud to show off. Taping it to the fridge, hanging it on a bedroom door, or handing it to a grandparent are all things they will want to do right away. Every child deserves that warm rush of pride that comes from making something cute with their own two hands. 🙈
What You'll Need
Here is everything you need to make this simple paper craft monkey at home. Lay it all out before you begin so the activity flows easily from start to finish.
- Crayola Construction Paper (240 sheets, assorted colors), you will use brown for the head and ears and tan or cream for the face.
- DECORA Self-Adhesive Googly Eyes (500 pieces, assorted sizes), two per monkey, just peel and press.
- Elmer's Disappearing Purple Glue Sticks (30-pack), washable and easy for small hands to control.
- Fiskars 5-Inch Pointed-Tip Scissors for Kids, great for ages 4 and up; use round-tip safety scissors for ages 3.
- A black marker, for drawing the nostrils and the big monkey smile.
- A round lid or small bowl, optional, for tracing a neat head circle.
Step-by-Step Instructions
This paper craft monkey step by step is easy to follow, even on the very first try. Work through each step together and let your child take the lead wherever they feel confident.
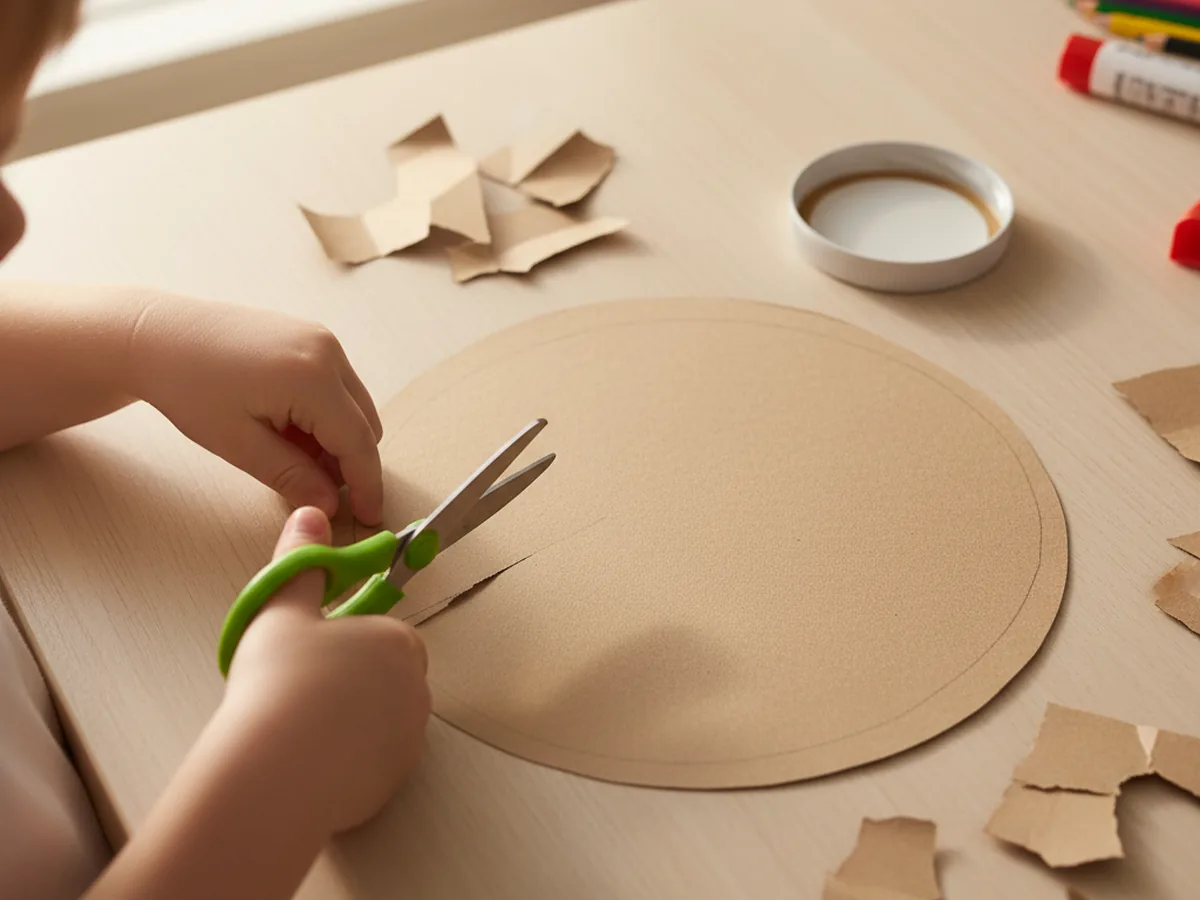
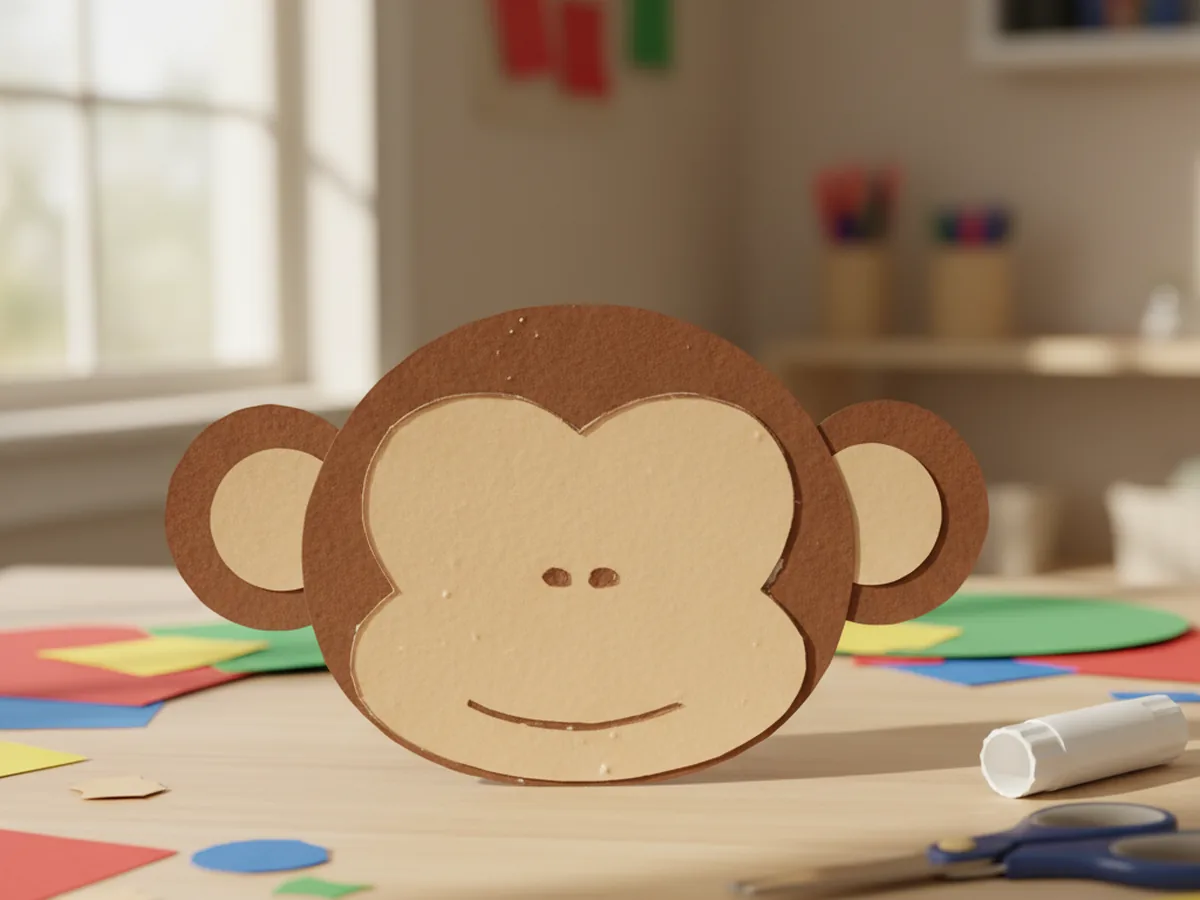
Step 1: Trace and Cut the Monkey's Head
Start with a sheet of brown construction paper. Use a round lid, a small bowl, or a cereal bowl to trace a large circle, then have your child cut it out along the line. This circle becomes the head of your paper craft monkey, so a nice big one gives plenty of room for the face and a happy smile later on.
For children aged 3 to 4, trace the circle for them first and let them practice cutting at their own pace. Slightly wobbly edges only add to the charm and make the monkey feel handmade and full of character.
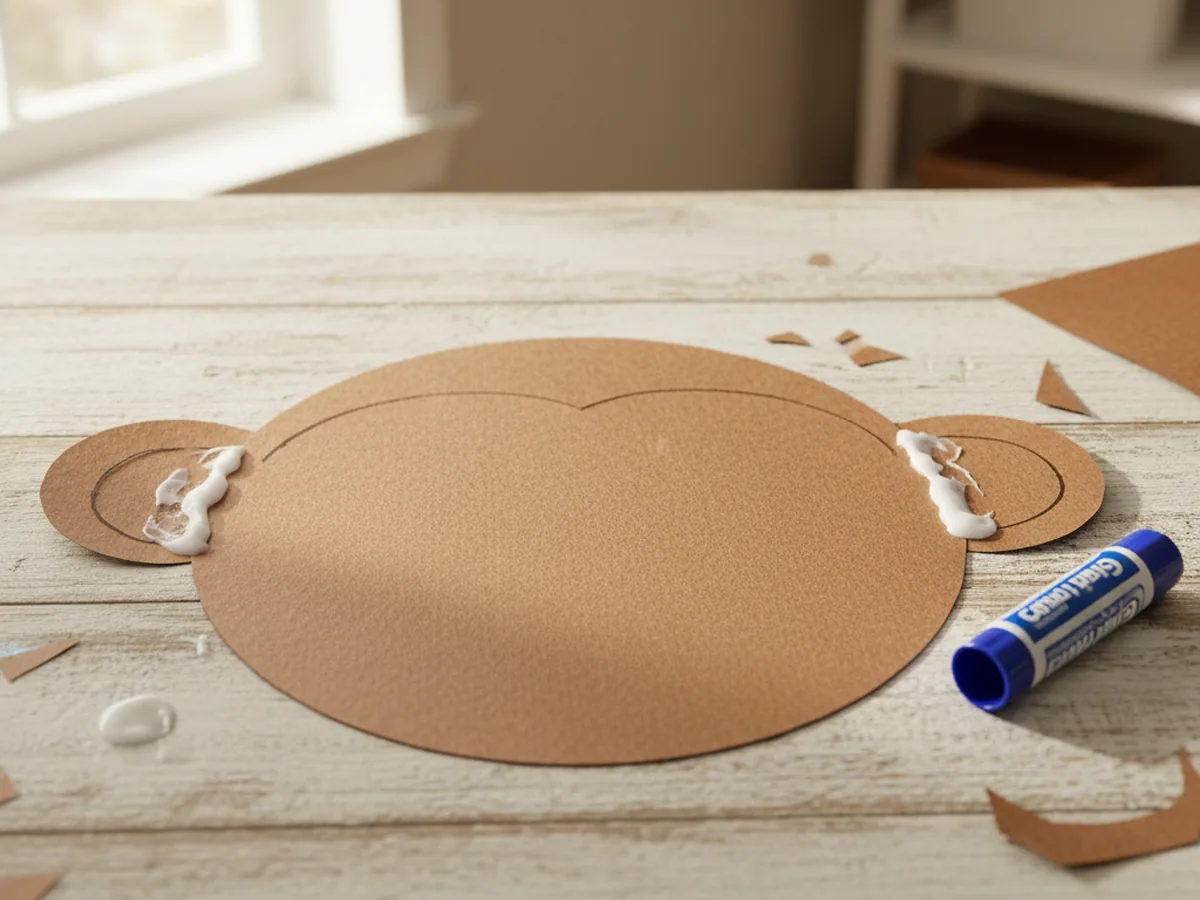
Step 2: Cut and Attach the Ears
From the same brown paper, cut two smaller circles for the ears. Monkeys have big round ears that stick out on the sides, so make these roughly the size of a cookie. Apply glue to one edge of each circle and press one to each side of the head so they poke out clearly past the edge. Hold them in place for a few seconds to let the glue catch.
This is the moment the head really starts to look like a monkey. Those round side ears are the signature feature, and kids always smile when they see the shape come together.
Step 3: Add the Tan Face and Inner Ears
Now grab the tan or cream paper. Cut one rounded peanut shape, a little like a soft figure eight, to make the monkey's face area. This will sit on the lower two thirds of the head. Then cut two small tan circles for the inside of the ears. Glue the big face shape onto the head first, then press a small tan circle into the center of each ear.
This light face area is what gives your monkey paper craft its classic look, and the soft color contrast against the brown makes the whole thing feel finished and polished.
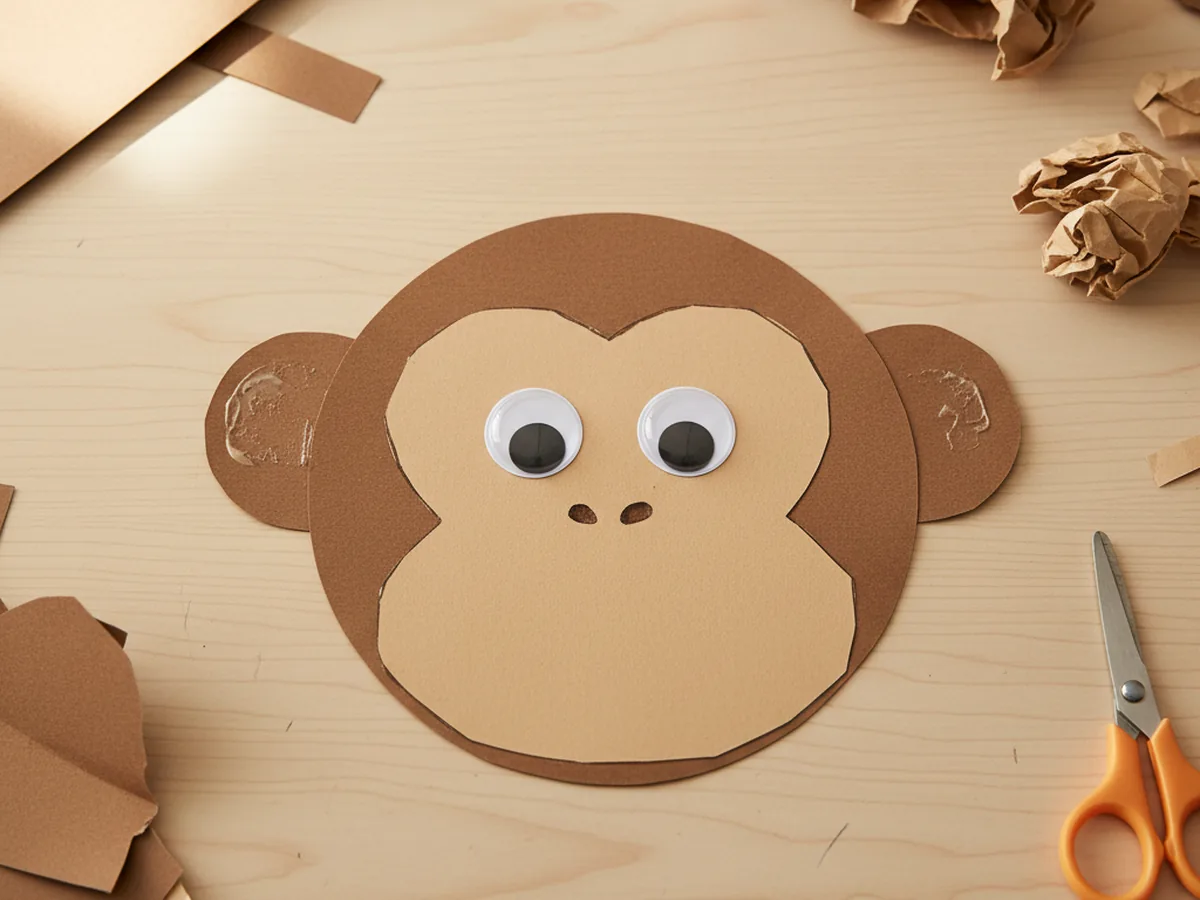
Step 4: Press on the Googly Eyes
Peel the backing off two self-adhesive googly eyes and let your child press one onto each side near the top of the tan face shape. They should sit a little apart, right where a monkey's eyes would be. The googly eyes are always the highlight of this paper craft monkey, because the second they go on, the monkey gets a real expression and seems to come alive. 😍
Bigger googly eyes look especially funny and sweet on a monkey. If your child wants to use two slightly different sizes, that only adds to the playful charm.
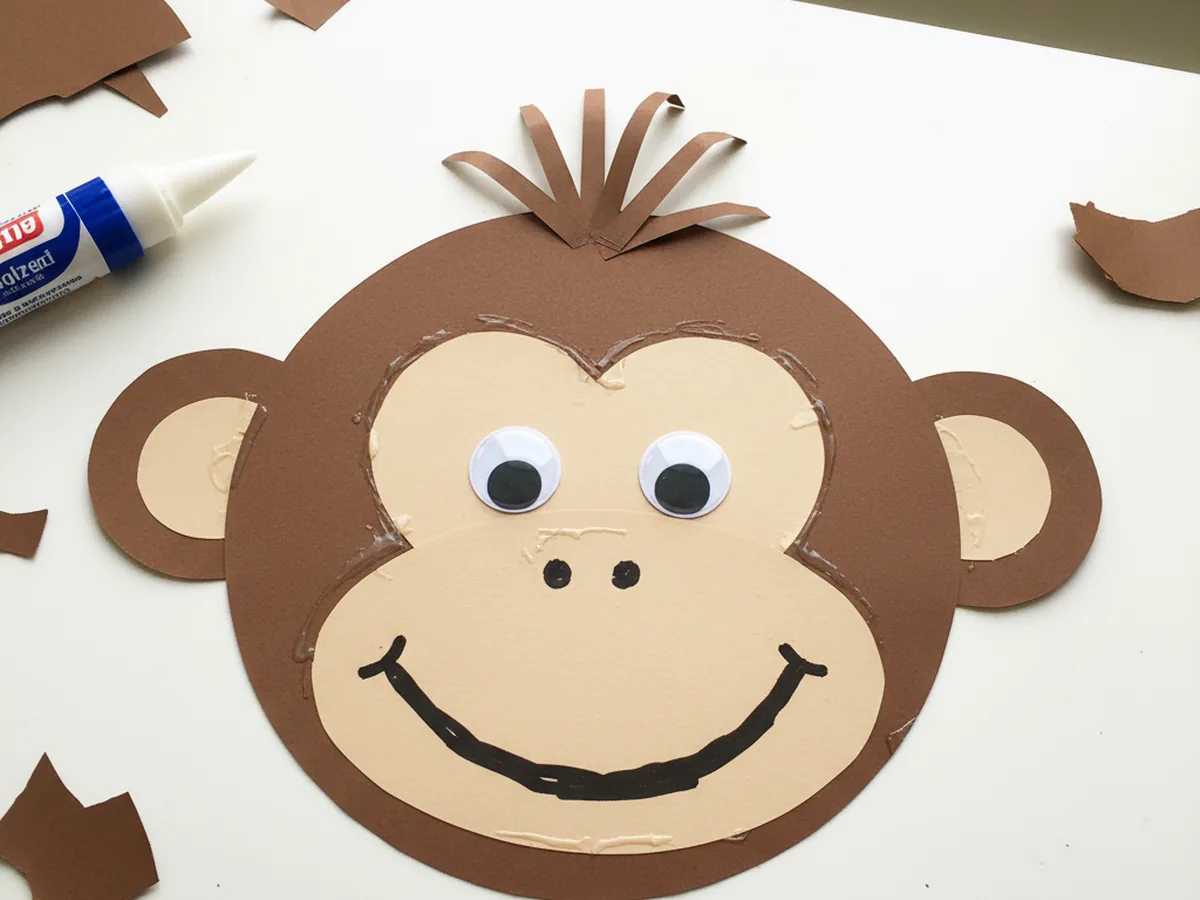
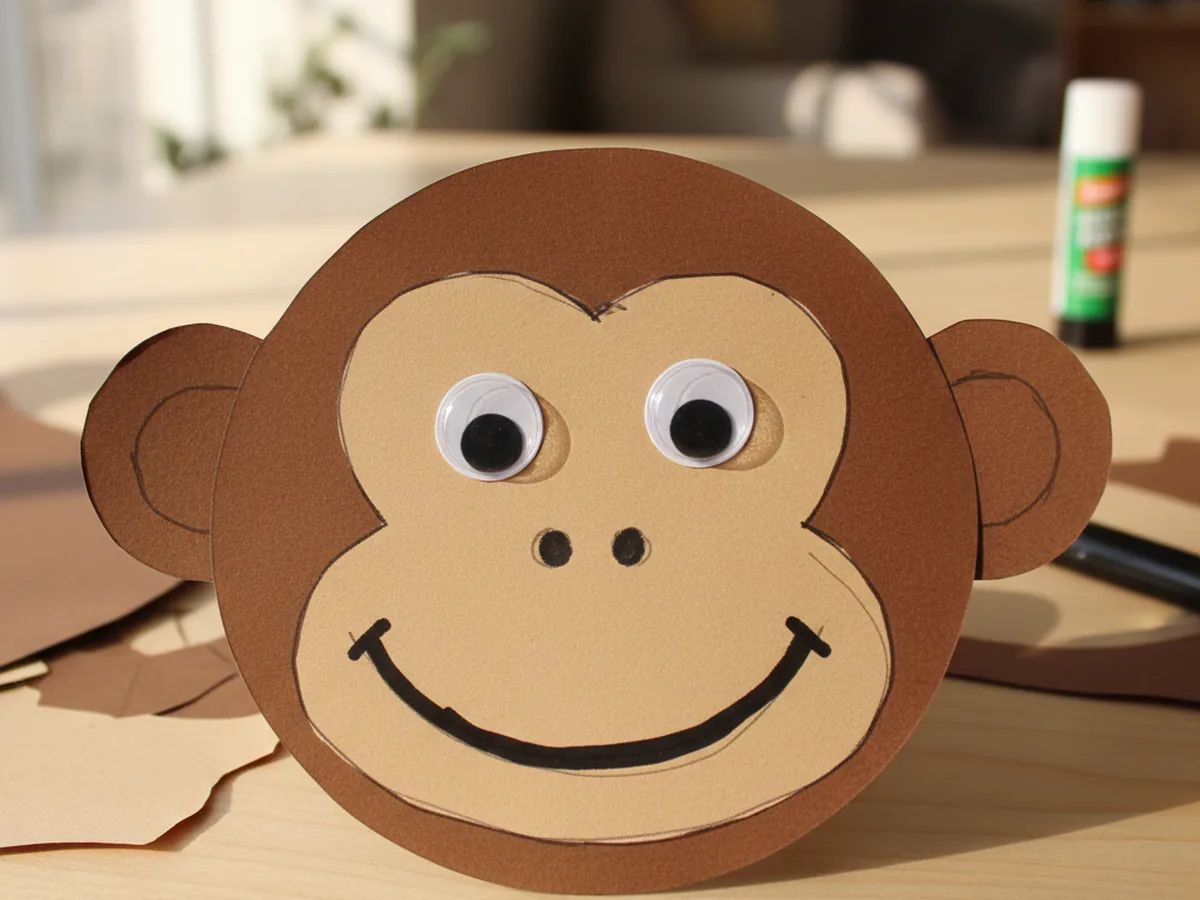
Step 5: Add the Nose and Smile
Using the black marker, draw two small dots close together in the middle of the tan face for the nostrils. Then, just below them, draw a wide curved line that stretches almost across the face to make a big happy monkey smile. A nice broad grin is what gives this easy paper craft monkey its cheerful, mischievous personality.
Let your child draw the smile if they are able. A slightly crooked grin somehow makes the monkey look even funnier and more lovable.
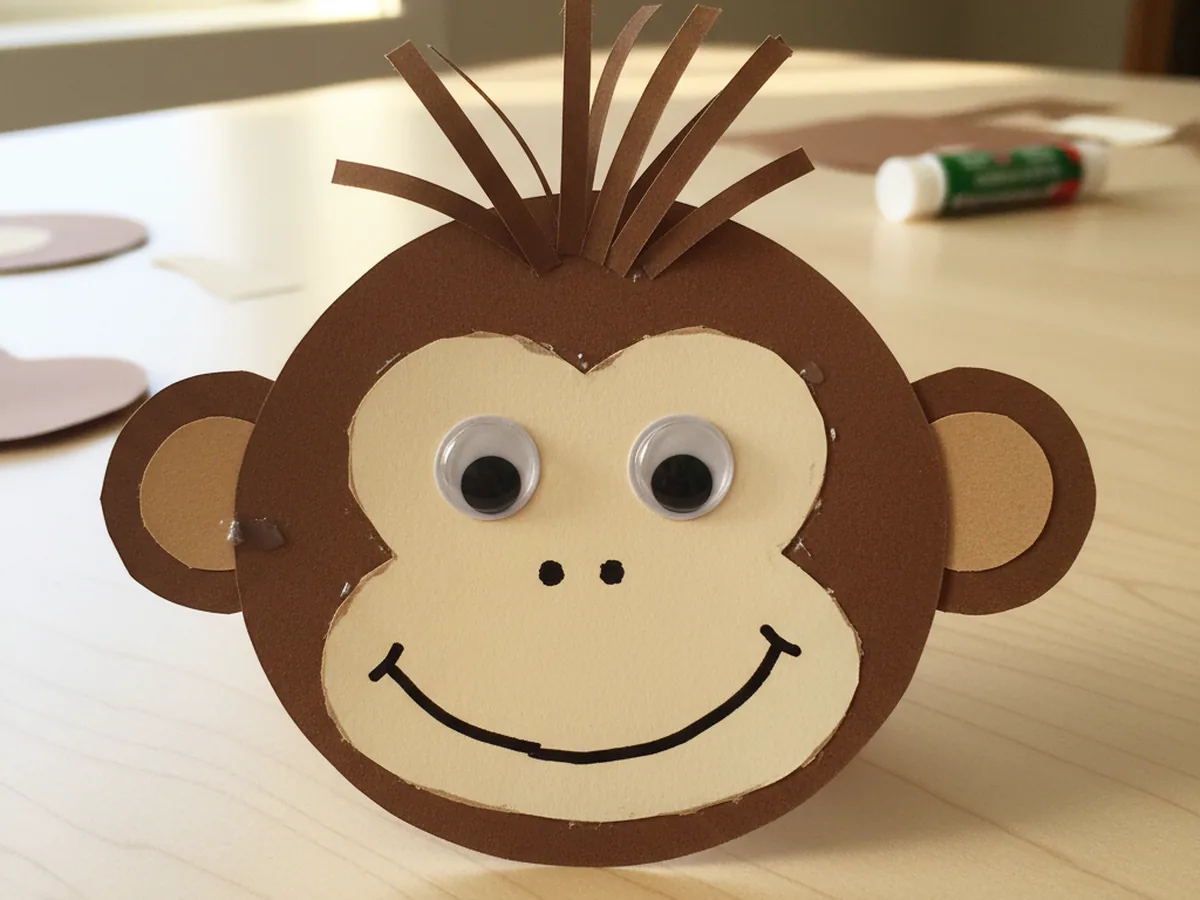
Step 6: Add the Hair Tuft and Finish
For the final touch, cut a few thin strips of brown paper. Wrap each strip loosely around a pencil to give it a gentle curl, then glue the strips to the top of the head so they stand up like a little tuft of monkey hair. This last step adds so much personality and truly finishes your paper craft monkey.
Once the hair is on, your child can add any extra details they like, such as rosy cheeks, freckles, or a tiny banana cut from yellow paper tucked beside the monkey. There is no wrong way to do it, and these little touches are what make each monkey one of a kind. 🍌
Variations to Try
Sock Monkey Style: Give your monkey the classic sock monkey look by cutting the muzzle and ears from cream or off-white paper and adding a small red paper mouth instead of a drawn smile. It turns the craft into a sweet nod to the old-fashioned toy that grandparents will recognize and love.
Jungle Scene Monkey: Glue the finished monkey onto a larger sheet of green paper and add a few cut paper leaves and a brown vine so it looks like your monkey is swinging through the jungle. This is a lovely way to extend the activity for older children who want to keep going.
Paper Plate Monkey: Swap the construction paper head for a small paper plate to make a sturdier, larger monkey face. The plate gives younger children a ready-made round shape to decorate, which is perfect for toddlers who find cutting a big circle tricky.
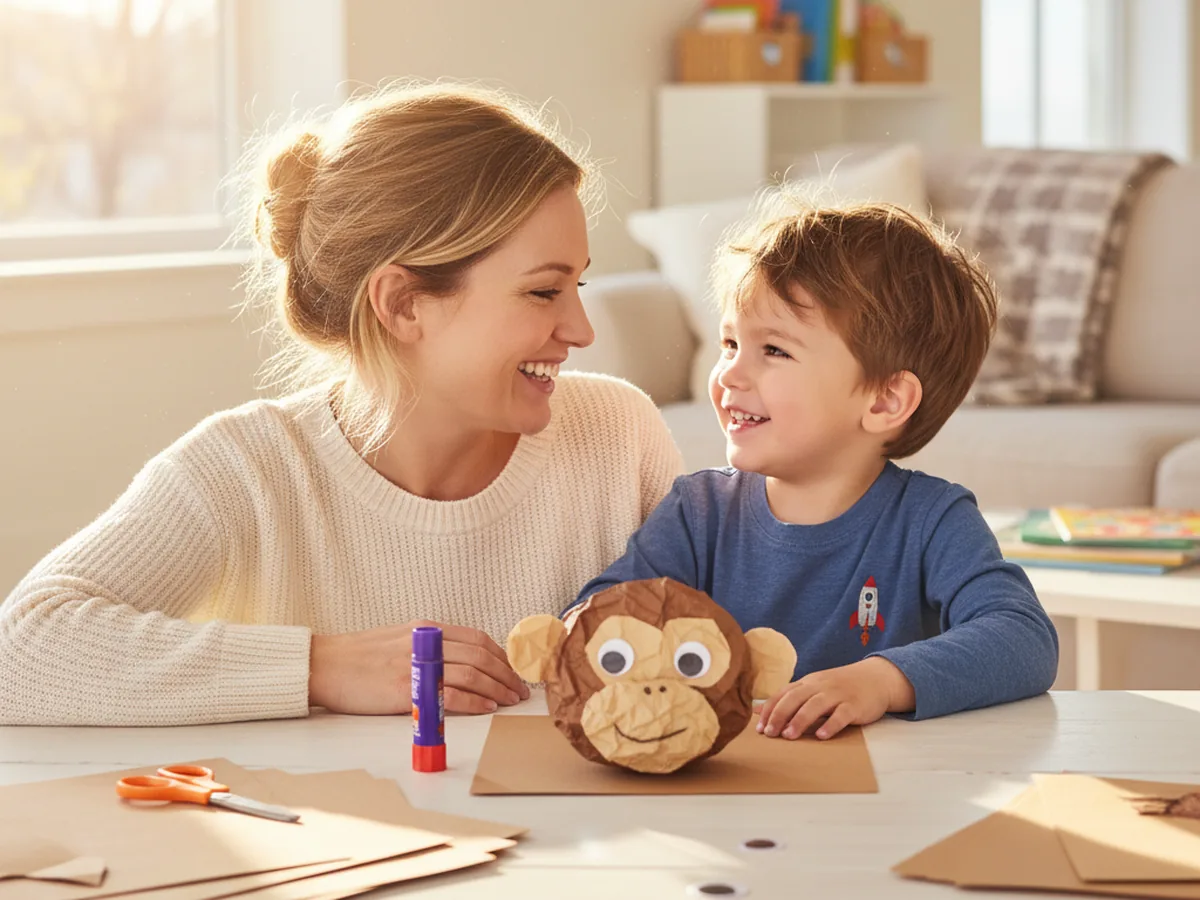
Final Thoughts
This paper craft monkey is one of those projects that is simple enough for a 3-year-old yet satisfying enough for a school-age child to feel proud of. It takes about 25 minutes from start to finish, uses materials you probably already have at home, and leaves you with nothing more than a few tiny paper scraps to sweep up. Most importantly, it gives you and your little one a real shared moment of making something together and ending up with a cheeky little face to smile at. 🎨
If your child makes their own paper monkey, I would love to see it. Pin this article on Pinterest so other families can enjoy it too, and happy crafting!
More Crafts You'll Love
If your little one enjoyed this paper craft monkey, these other easy animal paper crafts are just as fun to make together: