
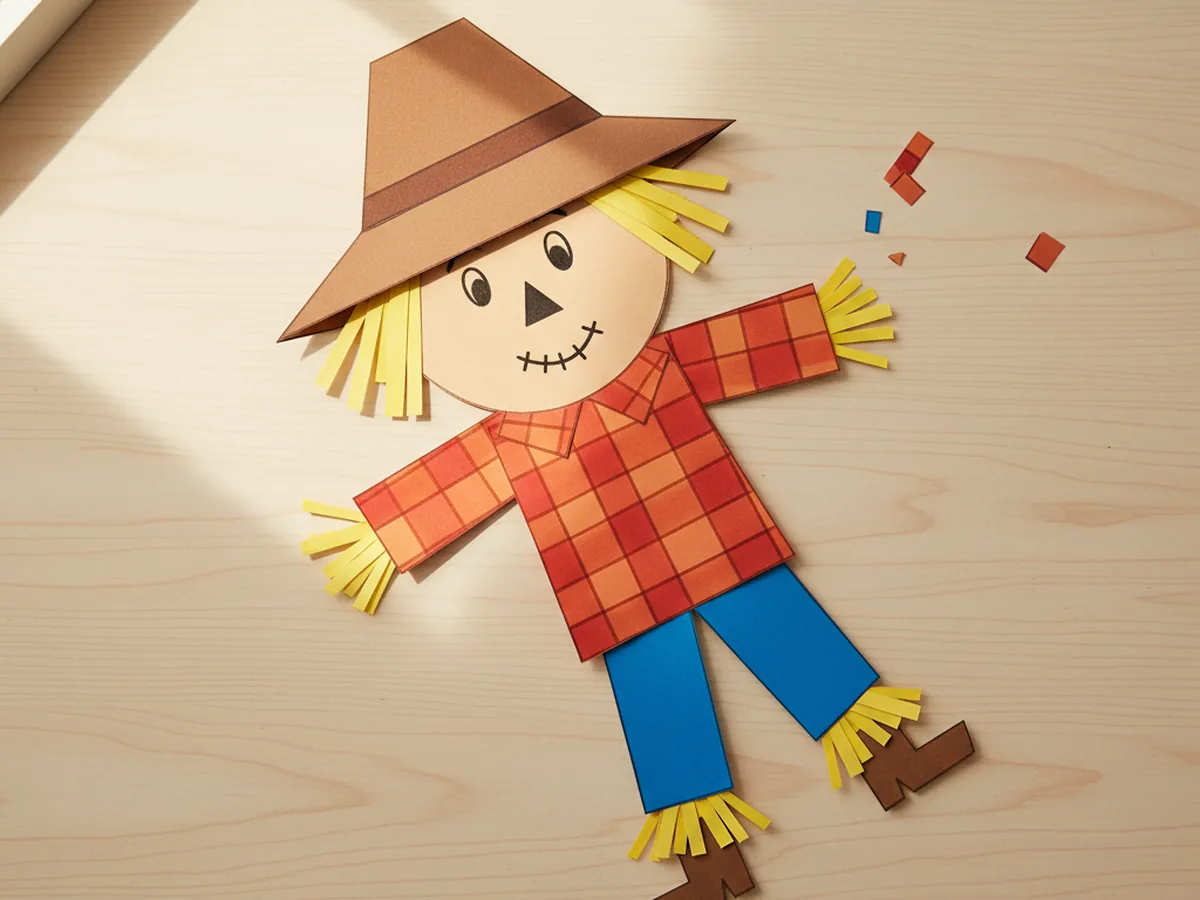
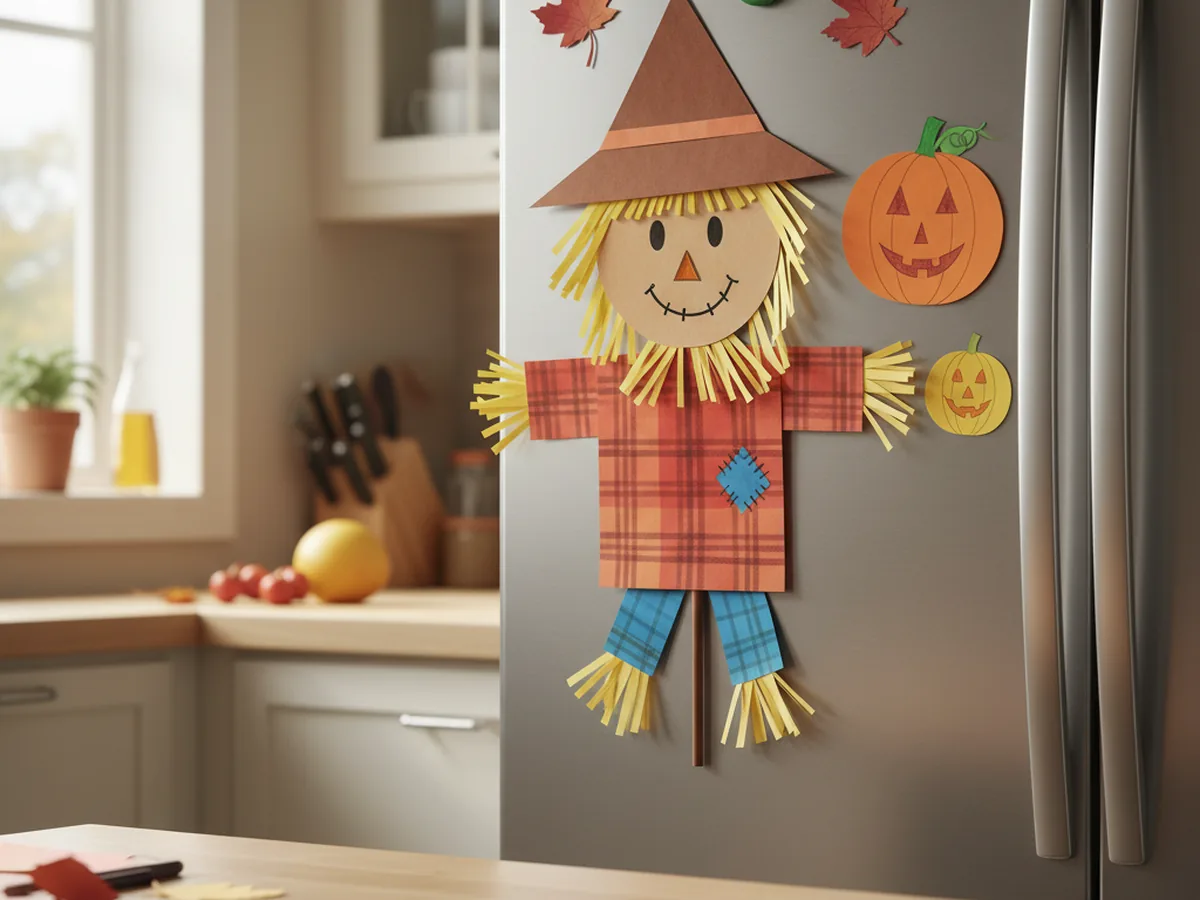
If your family loves the cozy magic of fall, this paper scarecrow craft is going to feel like a tiny hug at the kitchen table. It comes together from a few sheets of construction paper and supplies you probably already have, and the finished scarecrow looks cute enough to hang on the fridge or display next to a little pumpkin decoration. The whole project takes about thirty minutes, so it slots right into a quiet afternoon or a rainy Saturday. 🌾
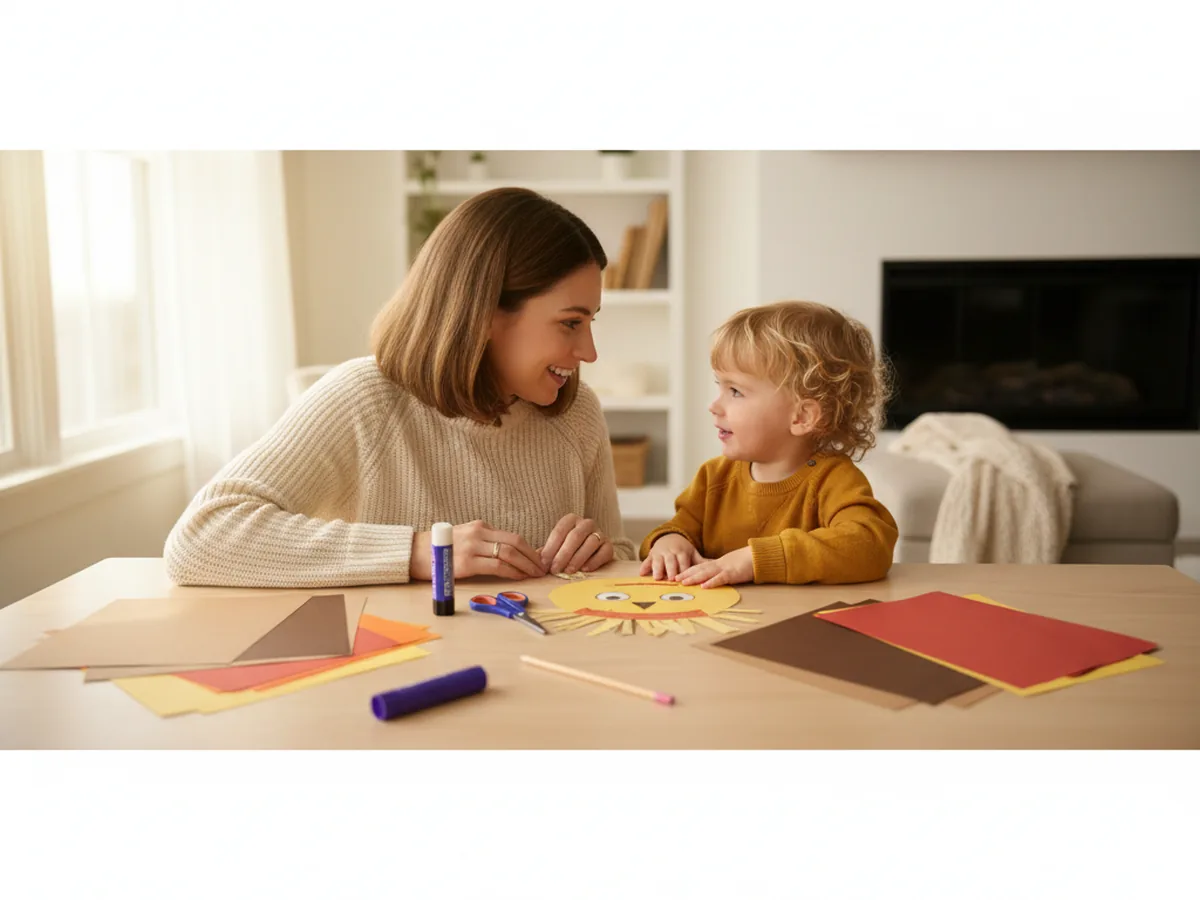
Even a four year old can do most of this craft with just a little help, and older kids will have a blast adding their own goofy face details. Every handmade paper scarecrow turns out a little different, and that is exactly the charm. Grab your construction paper, pour yourself a coffee, and let me walk you through it.
Why Kids Love This Craft
Scarecrows have a soft kind of magic for little ones. They look friendly, a tiny bit silly, and they show up everywhere in fall picture books, harvest songs, and storybook farms. When a child gets to make their own easy paper scarecrow craft, they feel like they are building a brand new little friend, and that imaginative spark catches them right away. A lot of kids name their scarecrow on the spot and create a whole pretend farm around it before the glue is even dry.
The project also gives small hands gentle practice with several useful skills. Cutting the round face, snipping the triangle hat, lining up the straw strips, and drawing the eyes and stitched smile all build fine motor control and focus. The steps are simple enough that no one gets frustrated, and the end result looks impressive enough that your child will feel genuinely proud of what they made.
Best of all, this cute paper scarecrow craft has no single right way to look. Some come out cheerful, some look sleepy, and some end up with one wonky eye that makes everyone laugh. The open-ended feel lets the personality of your little crafter shine through. ✨
What You'll Need
Here is everything you need to make this paper scarecrow craft at home. Lay the supplies out on the table before you sit down with your child so the activity flows smoothly and nobody has to get up mid-project to dig for a glue stick.
- Crayola Construction Paper (240 Sheets, 12 Colors), includes the tan, brown, yellow, red, and orange shades you need for the scarecrow.
- Fiskars 5 Inch Pointed-Tip Kids Scissors, perfect for little hands cutting curves and small straw strips.
- Elmer's Disappearing Purple School Glue Sticks (30 Count), washable and easy to twist for small fingers.
- Sharpie Fine Point Permanent Marker (Black, Single), for the eyes, nose, and stitched smile details.
- Crayola Broad Line Markers (10 Classic Colors), useful if your child wants to add plaid lines or patches to the shirt.
- Self-Adhesive Googly Wiggle Eyes (Assorted Sizes), optional but adorable for a wide eyed scarecrow look.
- A pencil, for lightly drawing the face circle and shirt rectangle before cutting.
Step-by-Step Instructions
This paper scarecrow craft step by step is genuinely easy, even for a first-time crafter. Take it one step at a time and let your child do as much as they comfortably can. 💛
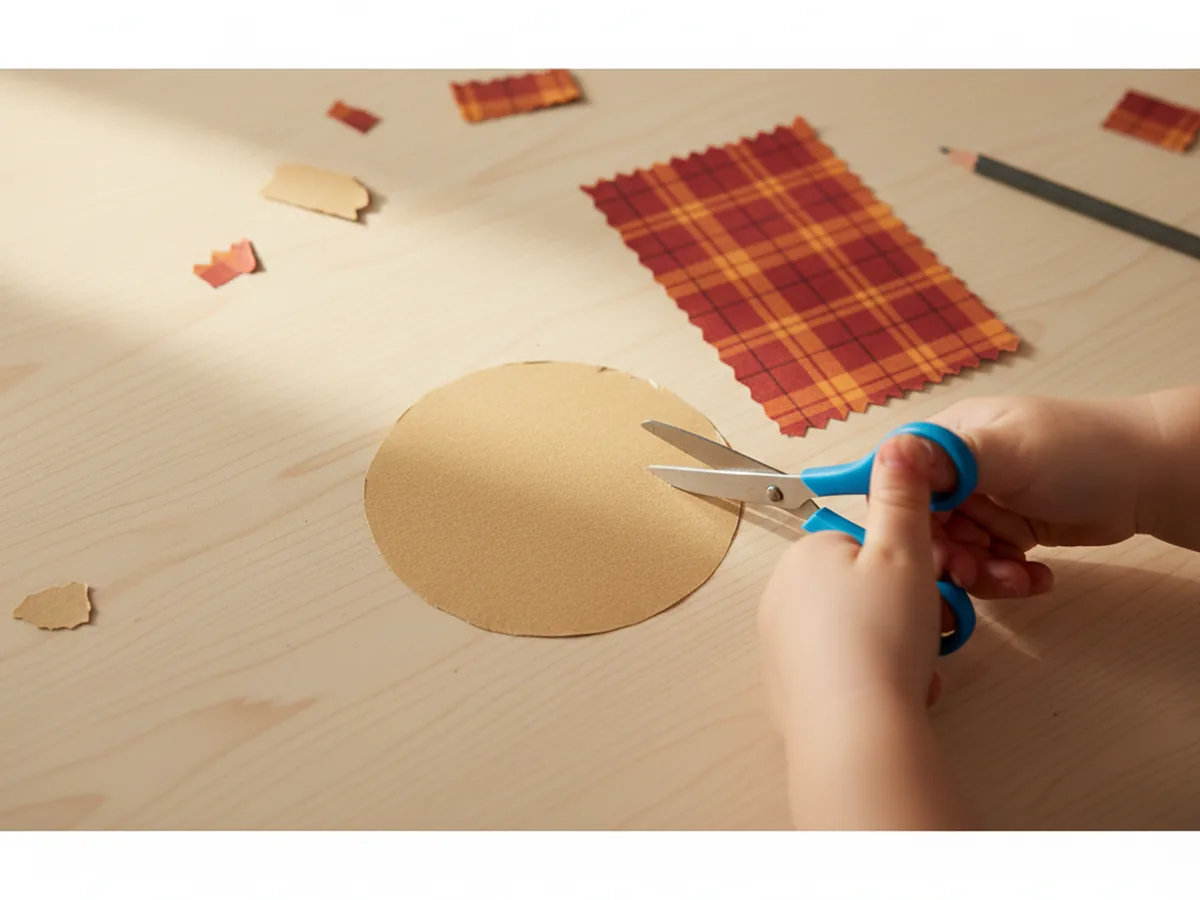
Step 1: Cut the Face and the Shirt Body
Start with a sheet of tan or light brown construction paper. Use a pencil to draw a round circle for the face, about four inches across. Then take a sheet of patterned or plaid construction paper (or color a plain sheet with marker plaid lines first) and draw a rectangle about five inches wide and six inches tall for the shirt and overall body of your paper scarecrow craft. Cut both shapes out.
If your child is younger, sketch the shapes yourself and let them focus on the cutting. Slightly wobbly edges actually give the finished scarecrow more handmade personality.
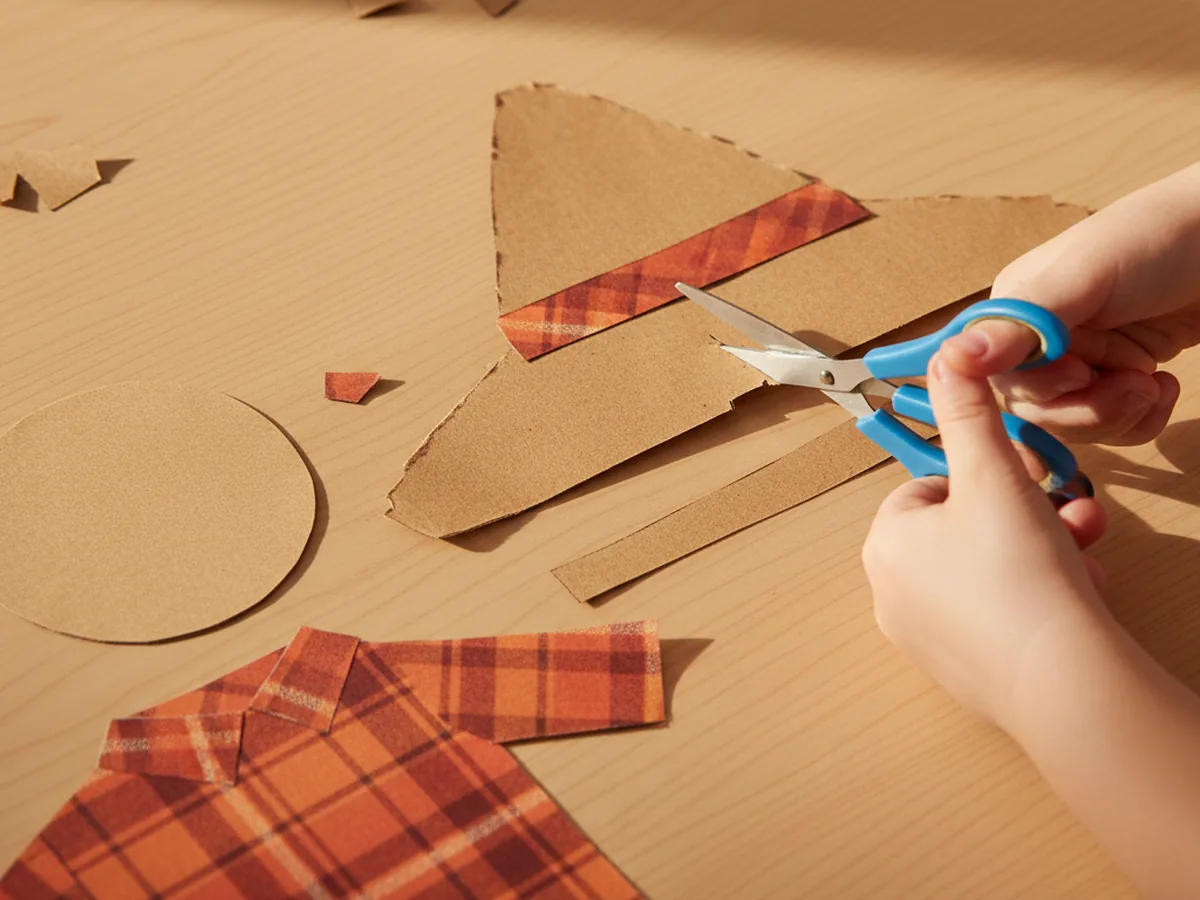
Step 2: Cut the Brown Triangle Hat
From a sheet of brown construction paper, cut a wide triangle for the scarecrow's classic floppy straw hat. The base of the triangle should be slightly wider than the face circle, and the height should be roughly half the size of the face. Then cut a thin brown paper strip about a quarter inch wide and long enough to lay across the bottom of the hat as a hatband. These two pieces give the kid-friendly paper scarecrow craft its instantly recognizable look.
The hat does not need to be perfectly symmetrical. A slightly lopsided hat actually looks more like a real scarecrow that has been standing out in the field all season.
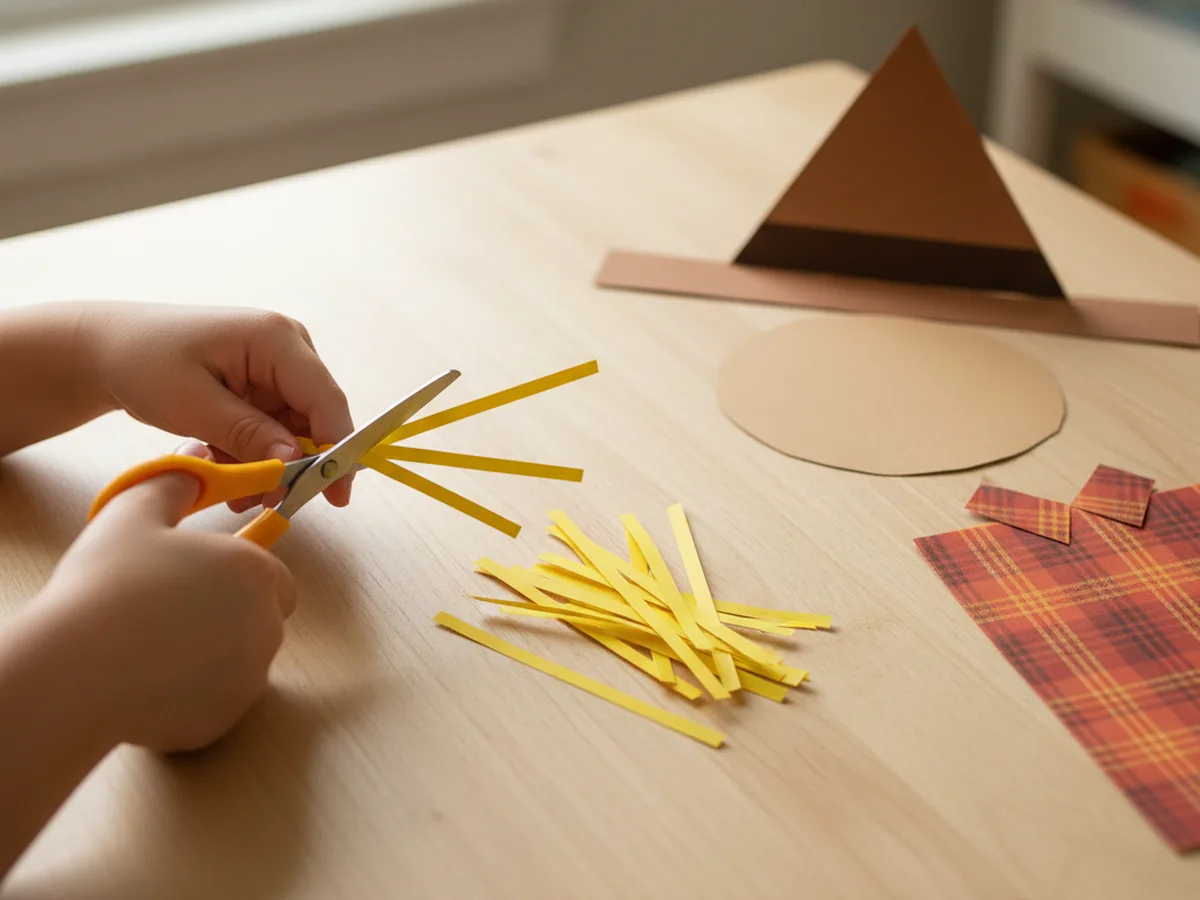
Step 3: Cut the Yellow Straw Strips
Take a sheet of yellow construction paper and cut a small bundle of thin strips, roughly the width of a piece of dry spaghetti and about two inches long. You will need about fifteen to twenty strips in total. These will be the fluffy straw poking out from under the hat brim, at the wrists, and at the bottom of the pants on your simple paper scarecrow craft.
Let your child handle this part. The strips do not need to be straight or even. Crooked, uneven straw looks more realistic and absolutely no one will notice if a few strips are wider than others.
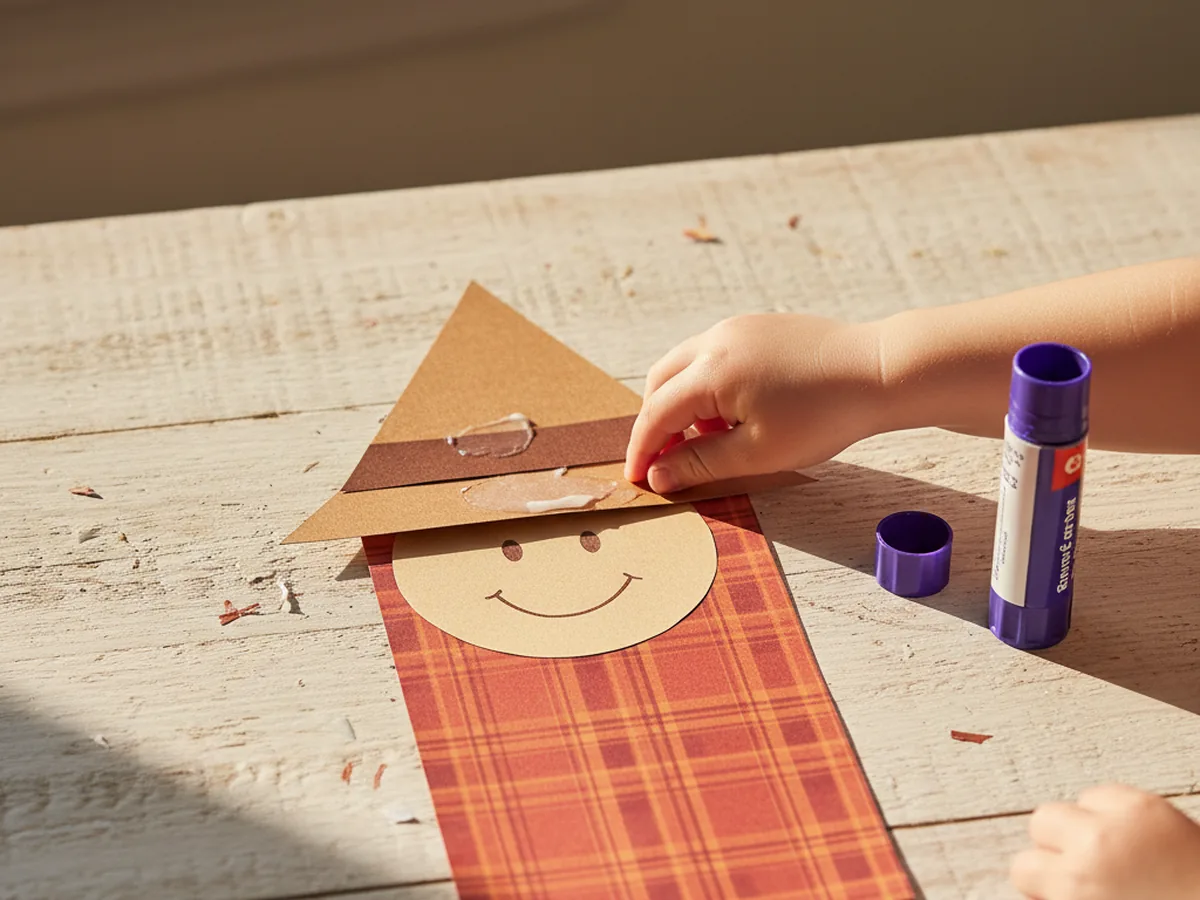
Step 4: Glue the Face, Body, and Hat Together
Now the scarecrow really starts coming to life. Run a glue stick across the back of the tan face circle and press it onto the top of the plaid shirt rectangle so the face sits centered above the body. Next, glue the brown triangle hat on top of the head, slightly overlapping the forehead area. Then glue the thin brown hatband strip across the very base of the hat, where the brim meets the face. Smooth each piece down firmly so everything sticks well.
If any piece overlaps an edge of the body, you can either trim it off or let it stay for a slightly cartoony look. Either way works beautifully here.
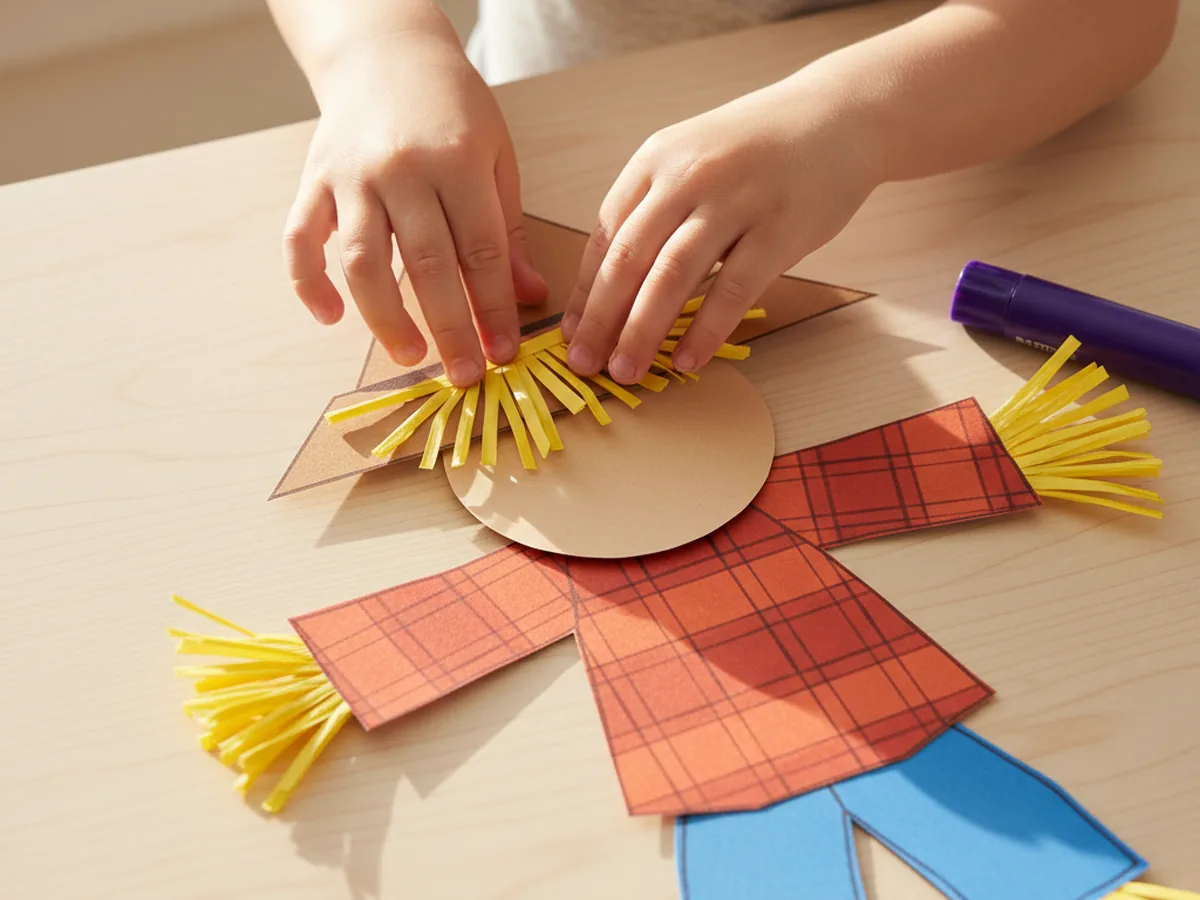
Step 5: Add the Yellow Straw Details
This is the step that turns the cardstock cutout into an actual little scarecrow. Glue small bundles of three or four yellow straw strips along the bottom edge of the hat so they peek out across the face and ears. Then glue clusters of yellow strips at the bottom corners of the shirt where the sleeves would end, and a few more at the lower corners of the body for pants and feet straw. The straw is what gives the handmade paper scarecrow craft its cozy harvest charm.
If you want, fan the strips out slightly before pressing them down so the straw looks fluffy instead of flat. Less is usually more, but a generous fluffy hat brim is always a win.
Step 6: Draw the Face and Display
Pick up your black fine point marker and add the little face details that bring the whole craft to life. Draw two round eyes, a small triangle nose, and a stitched smile (a curved line with short tick marks running across it) on the tan face circle. Add a tiny patch shape on the shirt using a different color marker if your child wants extra detail. Then hold up the finished paper scarecrow craft and give it the proud full-family showing it deserves. Stick it on the fridge with a magnet, tape it to a window, or pop it into a pretend fall harvest scene with paper pumpkins and leaves.
This is the perfect moment for a quick photo of your child holding up their finished scarecrow next to a big proud smile. If you want a little autumn inspiration to share with your kid, the friendly farm tradition of scarecrows goes back thousands of years and shows up in folklore all over the world.
Variations to Try
Cornfield Scarecrow Scene: Mount the finished scarecrow on a large piece of light blue construction paper, then cut tall green paper rectangles and snip the tops into points to make a row of cornstalks behind the scarecrow. Add a small orange paper pumpkin near the feet for a full harvest scene that looks lovely on a fall bulletin board.
Popsicle Stick Standing Scarecrow: Instead of leaving the scarecrow flat, glue the body onto a craft popsicle stick so it can stand up in a small lump of clay or a paper cup full of dried beans. This turns the craft into a tabletop fall decoration that lasts the whole season.
Paper Bag Scarecrow Puppet: Use the same shapes, but glue them onto a folded brown paper lunch bag so the scarecrow's mouth opens and closes when your child slides their hand inside. The straw and hat fit naturally on a paper bag base, and the scarecrow becomes a real puppet for fall storytime and pretend harvest play.
Final Thoughts
This paper scarecrow craft is one of those simple little projects that gives back so much more than just a finished cutout. It gives you a sweet half hour at the table with your child, a quiet pocket of fall coziness, and a paper friend who often gets played with for days after the craft itself is done. The supplies are basic, the steps are gentle, and the result always brings a big smile. 🍂
If your family makes a few of these together, I would love to see them. Snap a photo of your finished scarecrows and pin this tutorial on Pinterest so other craft-loving mamas can find it easily. Happy crafting, friend.
More Crafts You'll Love
If your little one enjoyed this paper scarecrow craft, they will adore these other cozy fall paper projects too: