
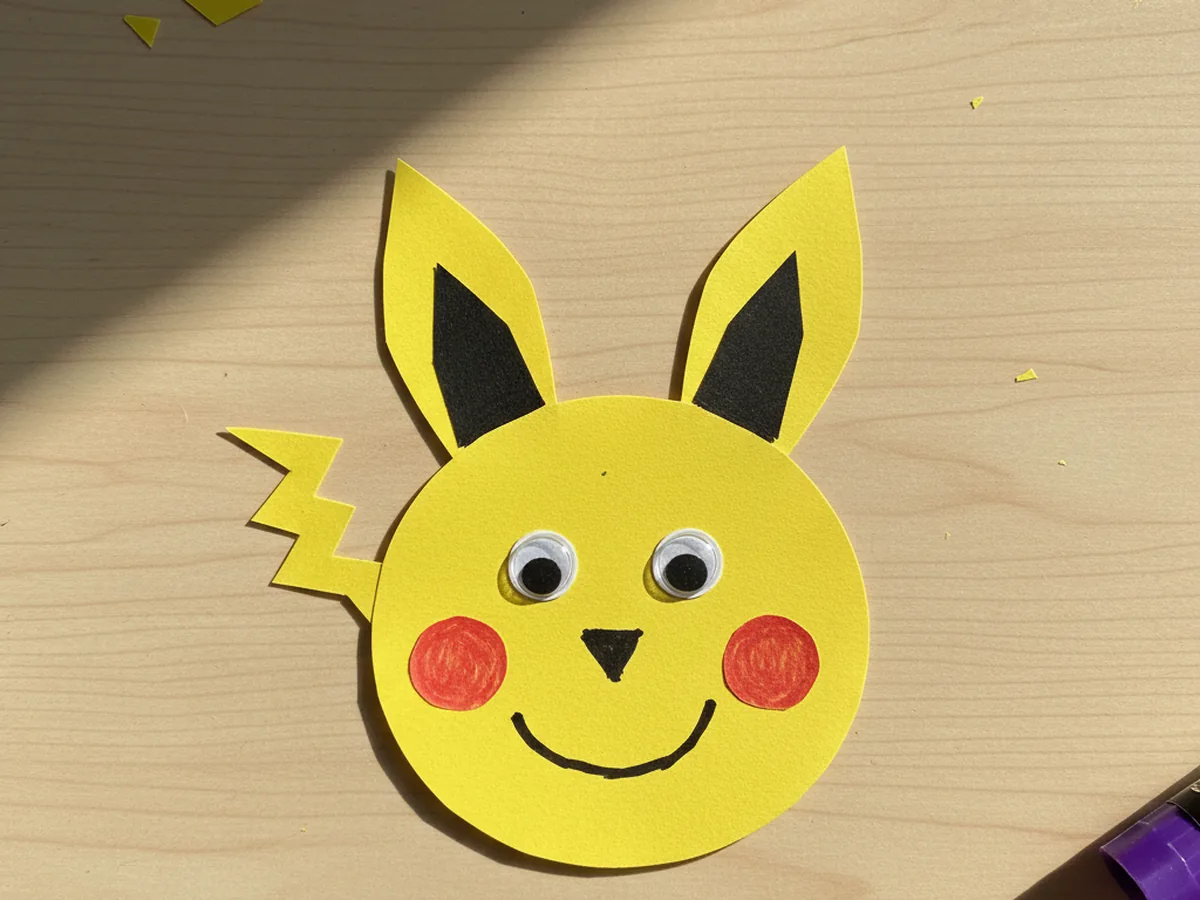
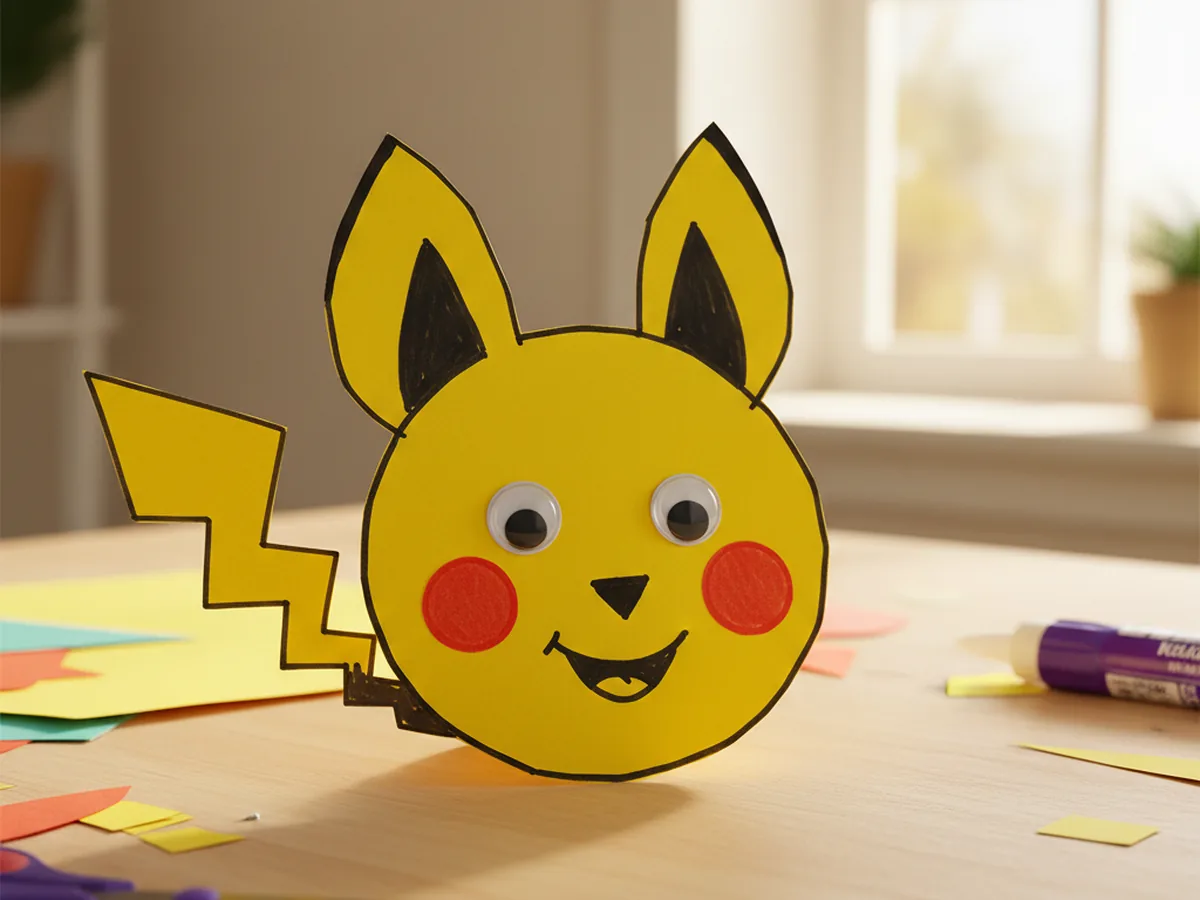
If you have a little Pokemon fan at home, this pokemon craft paper Pikachu is going to be the cutest thirty minutes of your week. With nothing more than yellow construction paper, scissors, glue, and a couple of googly eyes, you and your child can create the sweetest paper Pikachu and watch their face absolutely light up. The shape comes together quickly, the red cheeks add the perfect pop of color, and the finished little electric mouse looks ready to be displayed proudly on the fridge. ⚡
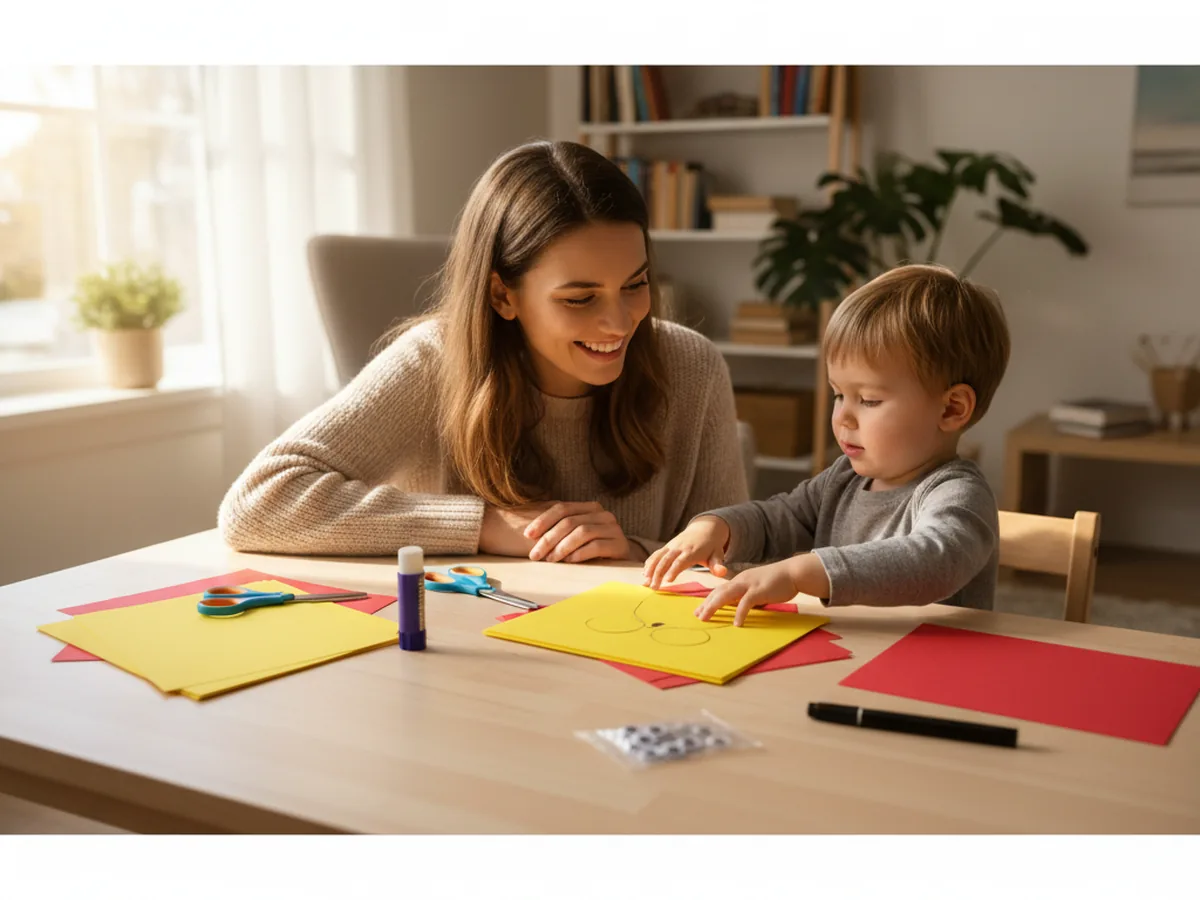
This easy pokemon craft paper project is the kind of low-mess activity you can pull out on a quiet afternoon, after school on a busy weeknight, or for a Pokemon-themed birthday party station. There is no paint, no glitter, and no tricky cutting. Just a few simple shapes, a tiny bit of gluing, and a finished Pikachu your child will want to name, hold up, and carry around for the rest of the day.
Why Kids Love This Craft
There is something extra magical about a Pikachu for little kids. The bright yellow color, the round face, the rosy cheeks, and those long pointed ears all feel friendly and lovable, and that emotional connection takes this craft far beyond a quick activity. Most kids end up giving their finished paper Pikachu a voice, a name, and a special spot on a shelf in their room.
This simple pokemon craft paper is also wonderful for fine motor practice. Cutting the round head, snipping the long pointed ears, and lining up the cheek circles all build hand strength and concentration in a way that feels exactly like play. Kids who are still mastering scissors get a forgiving project to grow on, and confident little crafters get to add the small details that make Pikachu look just right.
And the assembly moment is the real magic. Watching all those flat yellow shapes turn into a recognizable little Pokemon in just a few minutes lights up a child's whole face. Your little one will hold up their finished paper Pikachu craft and say "Look, Mommy, it's Pikachu!" and that is the moment this whole craft is really about. 💛
What You'll Need
Here is everything you need for this pokemon craft paper tutorial. Lay the supplies out on the table before you start so your little one can dive in without waiting around.
- Crayola Construction Paper (240 sheets, assorted colors), gives you the bright yellow for Pikachu and the red for those classic round cheeks.
- Fiskars Pointed-Tip Kids Scissors, easy for small hands to control on round and pointed shapes.
- Elmer's Disappearing Purple Glue Sticks (30 pack), washable and dries clear, perfect for sticking the ears, cheeks, and tail.
- CCINEE Self-Adhesive Wiggle Eyes (1150 pieces, assorted sizes), peel-and-stick googly eyes that bring Pikachu's face to life instantly.
- Crayola Broad Line Markers (10 classic colors), a black marker is perfect for the smile, nose, and ear tips.
- A pencil, for sketching the round head and ear shapes before cutting.
- A small plate or bowl, for tracing a perfectly round face.
Step-by-Step Instructions
This pokemon craft paper Pikachu moves through seven friendly steps that build naturally on each other. Take your time, follow along together, and let your child do as much of each step as they comfortably can.
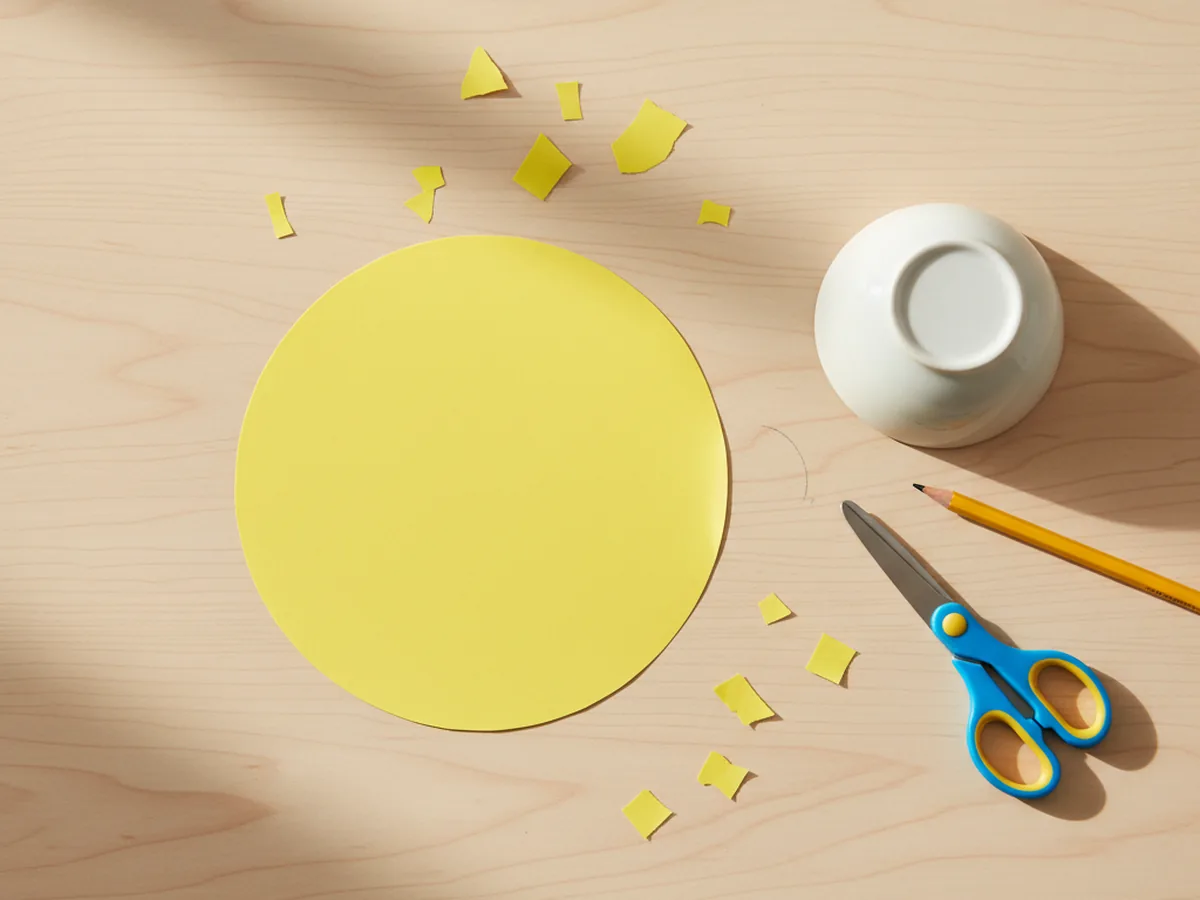
Step 1: Cut the Round Yellow Head
Start with a sheet of bright yellow construction paper for Pikachu's head. Place a small plate or bowl upside down on the paper and trace around it with a pencil to draw a clean circle, about the size of a saucer. Cut the circle out carefully with kid-safe scissors. This big yellow circle is the heart of the pokemon craft paper Pikachu, and it sets the size for everything else.
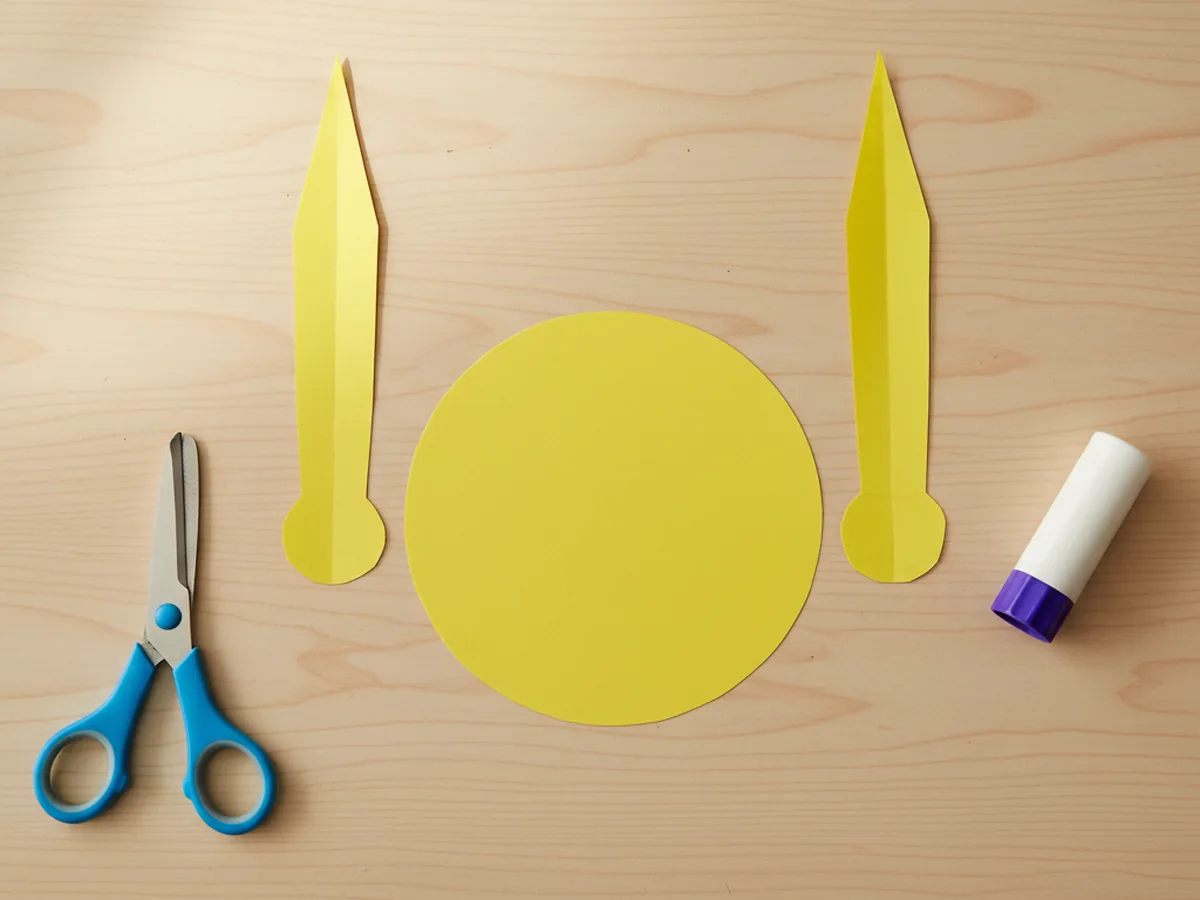
Step 2: Cut the Long Pointed Ears
From the same yellow paper, cut two long pointed ear shapes, each about as long as your child's hand. Picture a tall, slim triangle with a slightly rounded base and a sharp pointed tip at the top. The ears are what make the whole craft instantly recognizable as Pikachu, so try to cut them a little taller than feels normal.
Lay both ears next to the round yellow head before gluing anything down. This little dry run helps your child see how the ears will sit and gives them a chance to nudge things until the proportions feel just right.
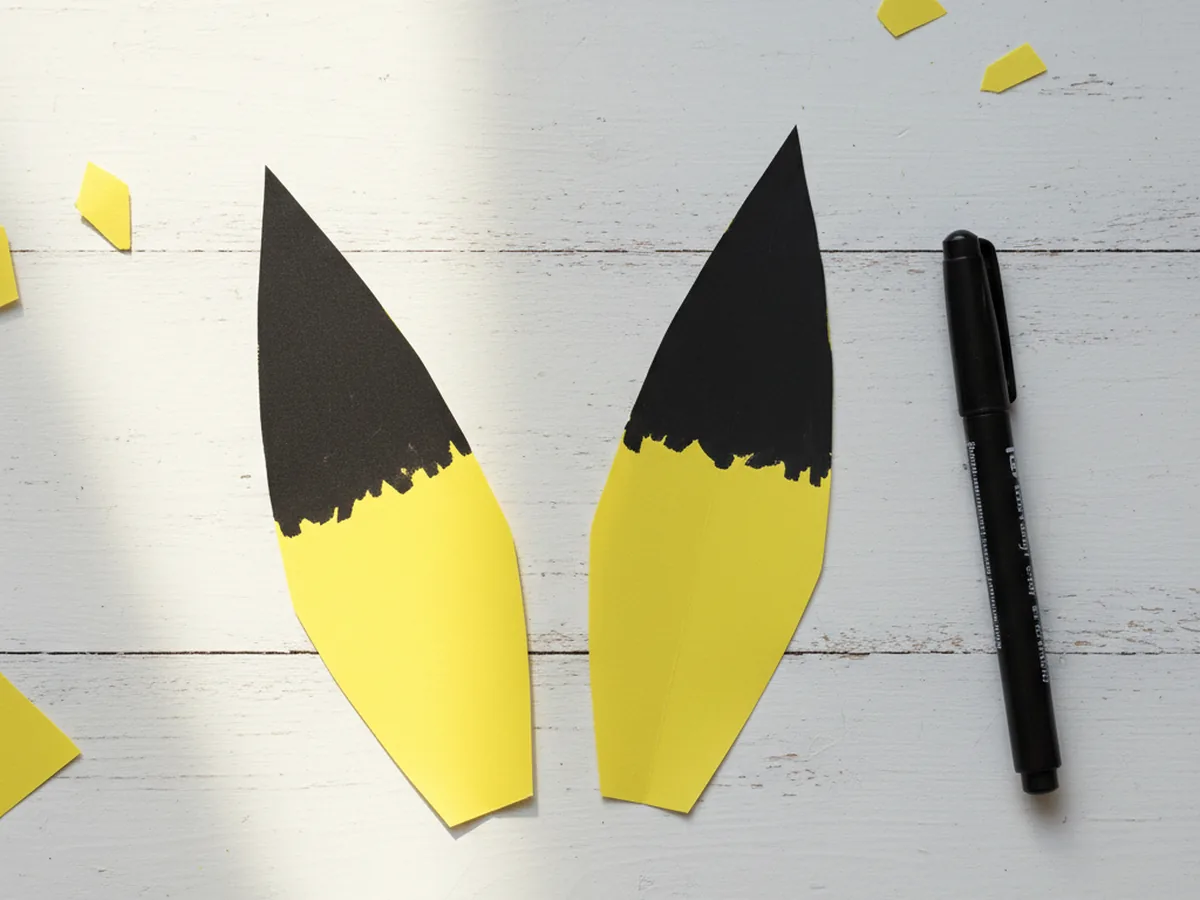
Step 3: Add the Black Ear Tips
Now for one of Pikachu's most iconic details. Take a black marker and color the very top portion of each yellow ear, about the top third, in solid black. If your child prefers, you can also cut two small black triangles from black construction paper and glue them onto the ear tips for a crisper look. Either way works beautifully for this paper Pikachu craft.
Press firmly with the marker so the black is rich and even. Let it dry for a minute before moving on so it does not smudge against the yellow.
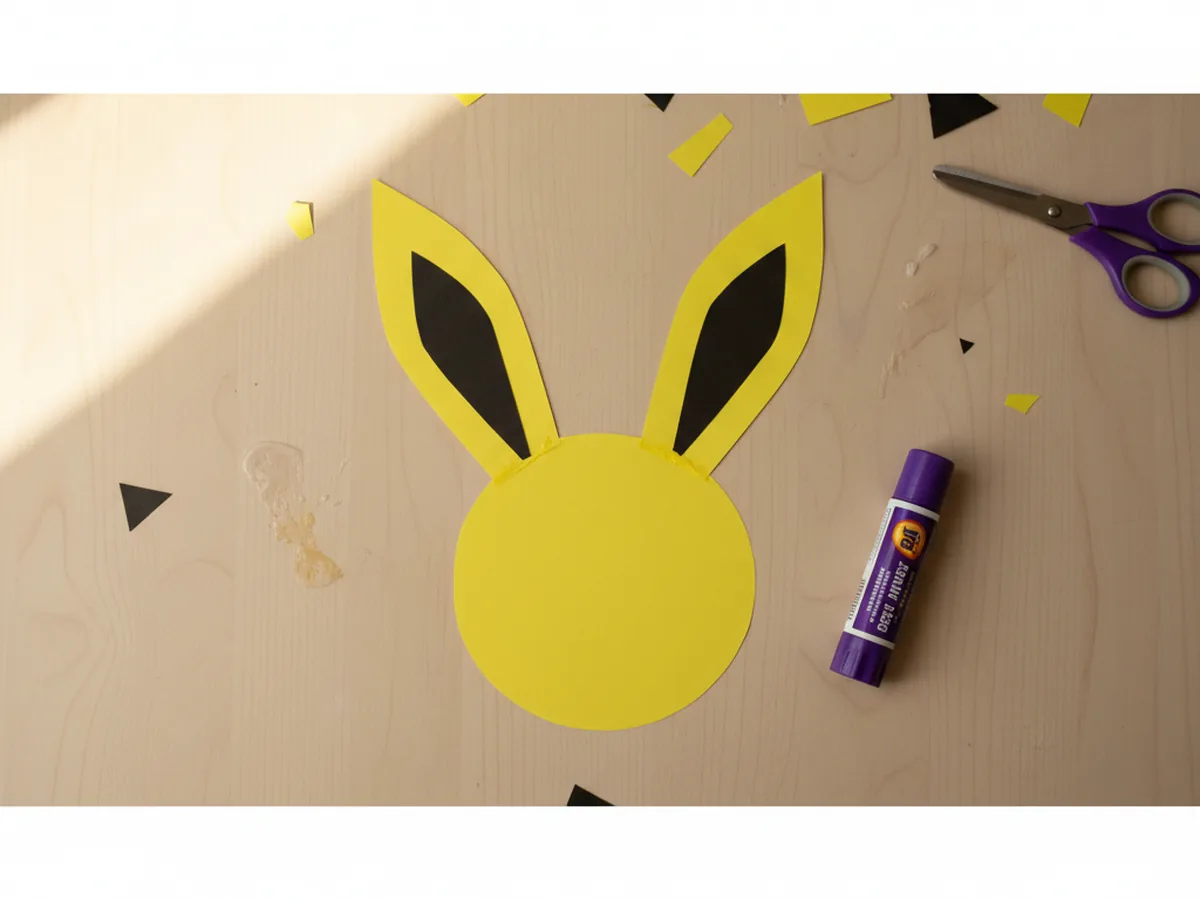
Step 4: Glue the Ears Behind the Head
Flip the yellow head circle over so the back is facing up. Add a generous dab of glue stick to the bottom edge of each ear, then press them onto the back of the head so the ears stand tall above the top of the circle. Place them slightly angled outward, like little bunny ears tilted into a friendly V shape.
Press each ear down firmly for a few seconds so the glue grabs hold. When you flip the head back over, you will already see Pikachu's silhouette smiling up from the table. This is one of those magic pokemon craft paper moments where the project clicks into place.
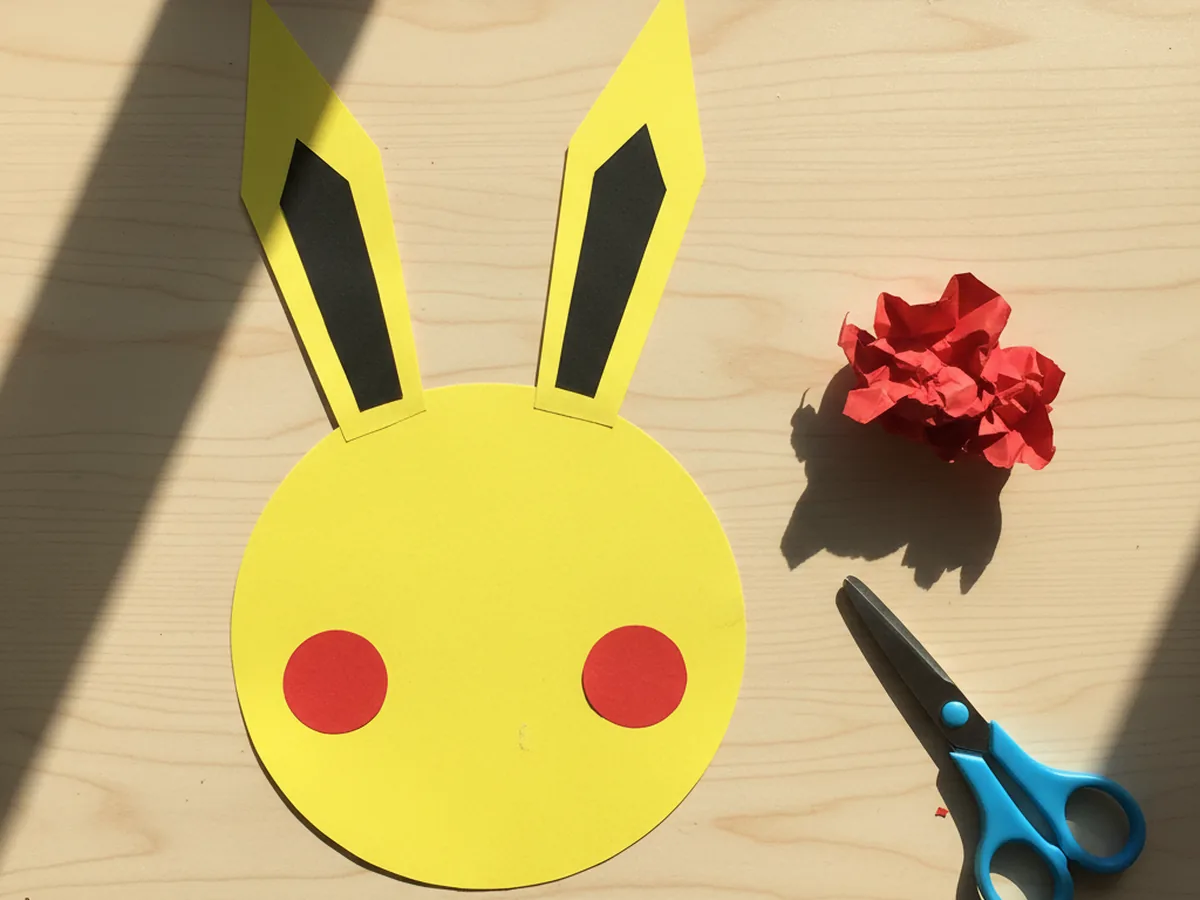
Step 5: Glue On the Red Cheek Circles
Take a piece of red construction paper and cut two small circles, each about the size of a quarter. These are Pikachu's famous rosy cheeks. Add a small dot of glue to the back of each red circle and press them onto the lower half of the yellow face, one on each side. Leave a little space between them so there is room for a smile in the middle.
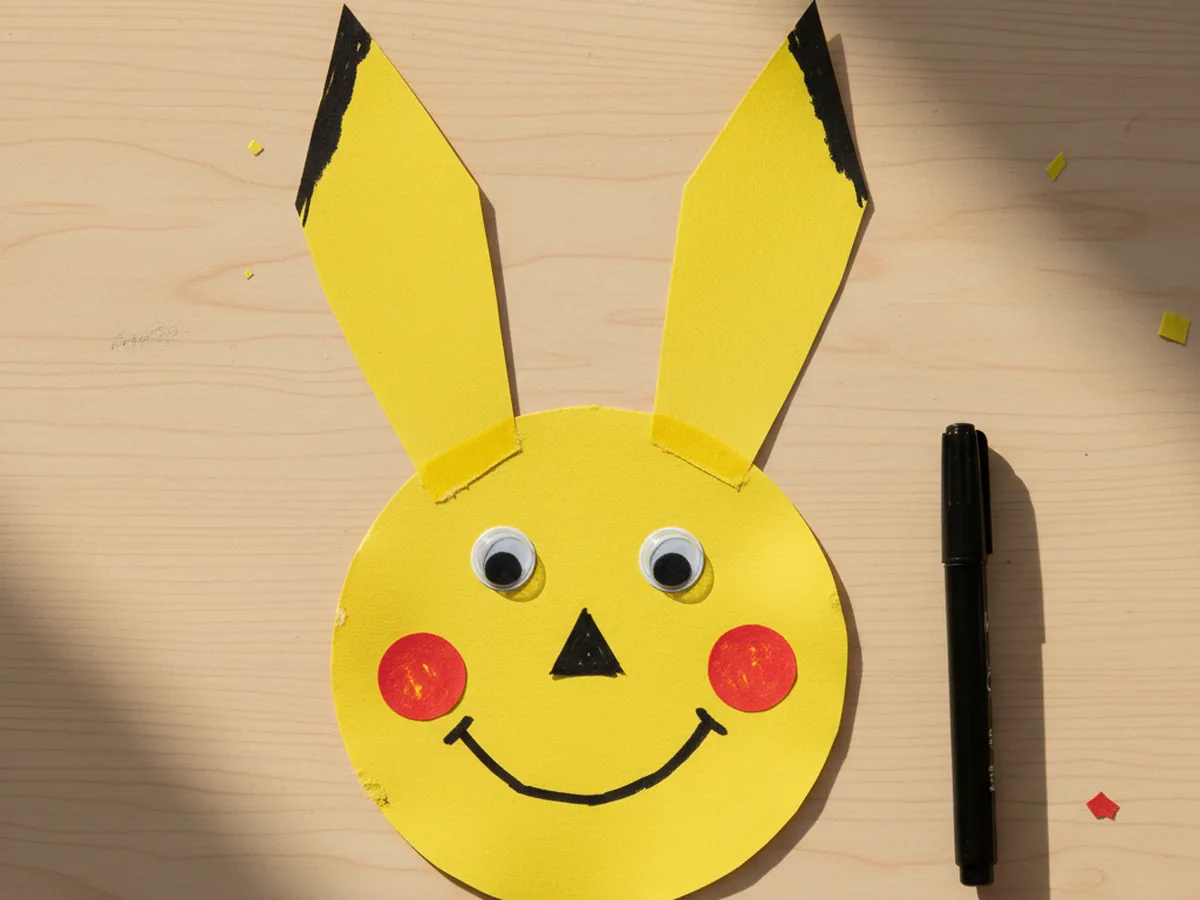
Step 6: Add the Eyes, Nose, and Smile
Now Pikachu really comes to life. Peel the backing off two small black googly eyes and stick them near the top of the face, just above the cheeks, with a small space between them. With a black marker, draw a tiny rounded triangle for the nose right between the eyes, then draw a wide curved smile underneath that connects the two cheeks.
Step back together for a moment. Most kids gasp a little when the face suddenly comes together. If your child wants, add two tiny eye highlights with a white crayon or a dot of correction fluid to make the eyes sparkle.
Step 7: Add the Lightning Bolt Tail
Last but not least, cut a zigzag lightning-bolt shape from yellow construction paper, about the length of your child's hand. Pikachu's tail is the perfect finishing touch and it is so much fun for kids to design. Add a dab of glue to one end of the tail and press it onto the back of the head so it sticks out to one side, like the lightning is shooting out from behind.
Set the finished Pikachu aside on a flat surface for a few minutes so the glue can fully set. While you wait, this is the perfect moment to ask your child what they want to name their little Pokemon. Once everything is dry, the finished paper Pikachu is ready to be proudly displayed on the fridge, taped to a bedroom wall, or carried around the house all afternoon. 🎨
Variations to Try
Pokeball Companion: Cut a circle of red paper and a circle of white paper, then glue them together to make a half-and-half Pokeball with a small black band across the middle. Display it next to your finished Pikachu for a sweet little Pokemon scene your child can keep on their desk.
Eevee Brown Version: Use light brown construction paper instead of yellow, swap the red cheeks for a creamy white chest patch, and shape the ears a little wider and rounder. The same step-by-step approach works perfectly to make a paper Eevee, so kids who love a different Pokemon can still join in.
Toddler-Friendly Tear and Glue: For a much younger child, skip the scissors entirely and let them tear small pieces of yellow tissue paper to glue onto a pre-cut Pikachu shape you prepare ahead of time. The torn texture looks soft and adorable, and toddlers stay engaged for ages.
Final Thoughts
This pokemon craft paper Pikachu is one of those quietly perfect projects that brings a calm shared moment with very little setup or cleanup. The supplies are simple, the steps are forgiving, and the finished little Pikachu looks far cuter than the small effort suggests. Whether you display it on the fridge, gift it to a Pokemon-loving cousin, or send it to school for show-and-tell, you both walk away with a sweet handmade keepsake and a happy memory of the afternoon you made it together.
If your child finishes their first paper Pikachu, I would love to see it. Save this article on Pinterest so other craft-loving mamas can find it easily. Happy crafting!
More Crafts You'll Love
If your little one enjoyed this pokemon craft paper Pikachu, they will love these other character-style paper projects too: